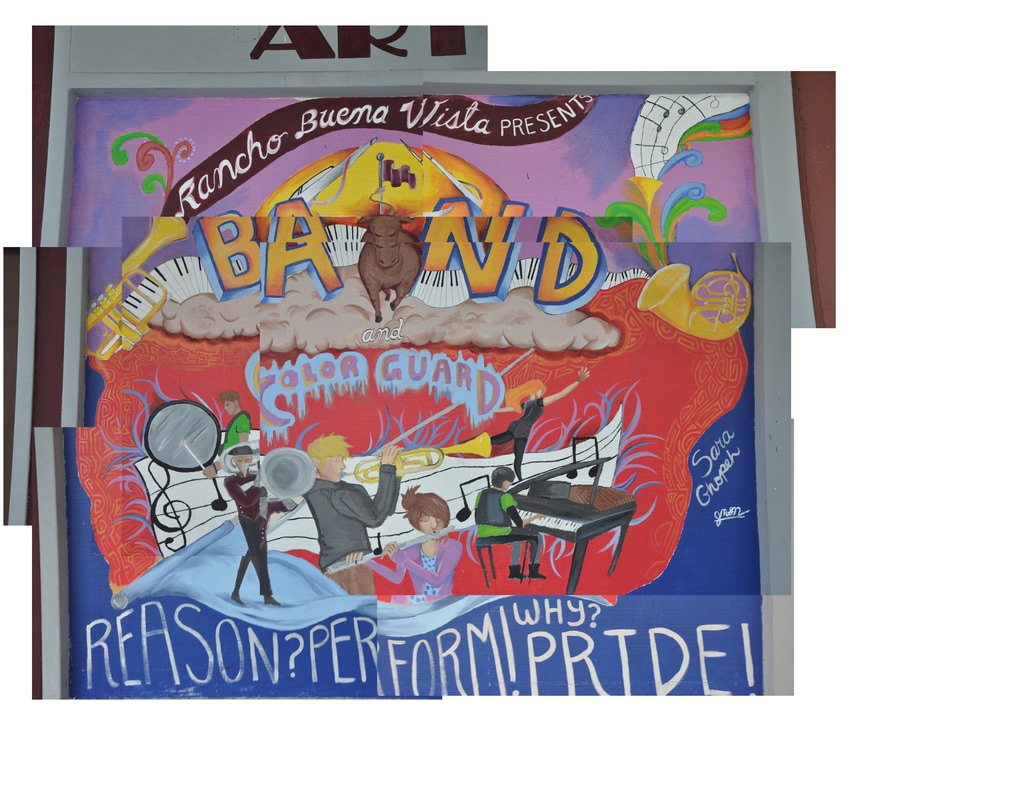
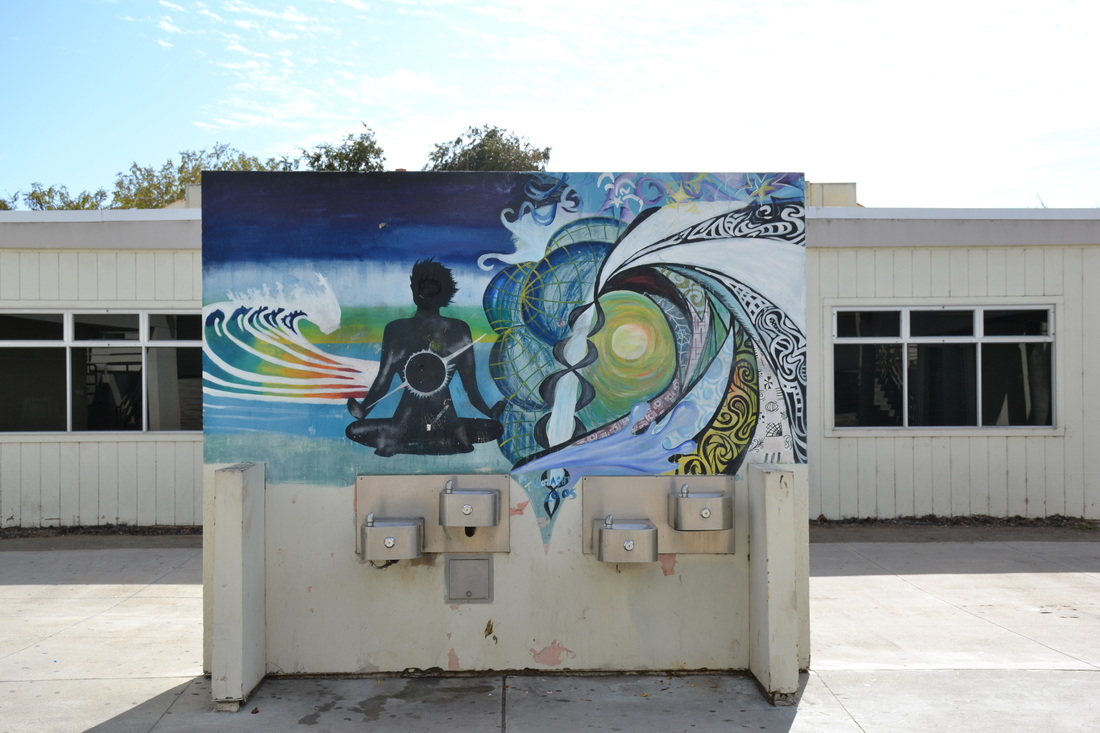
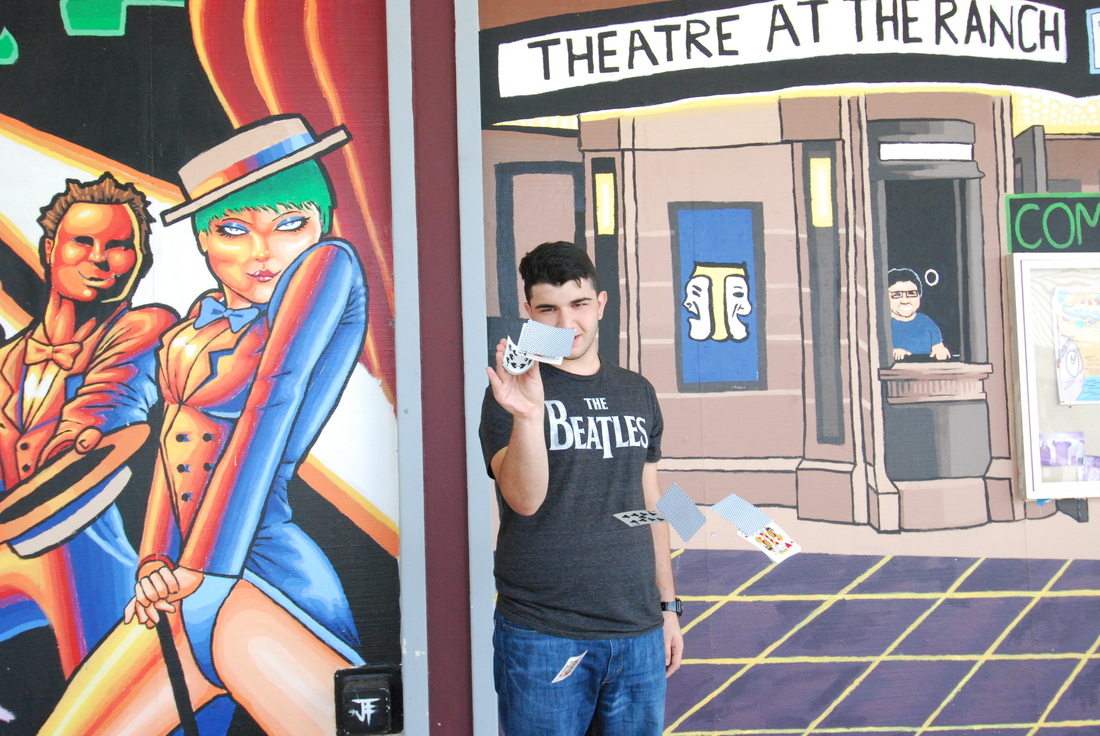
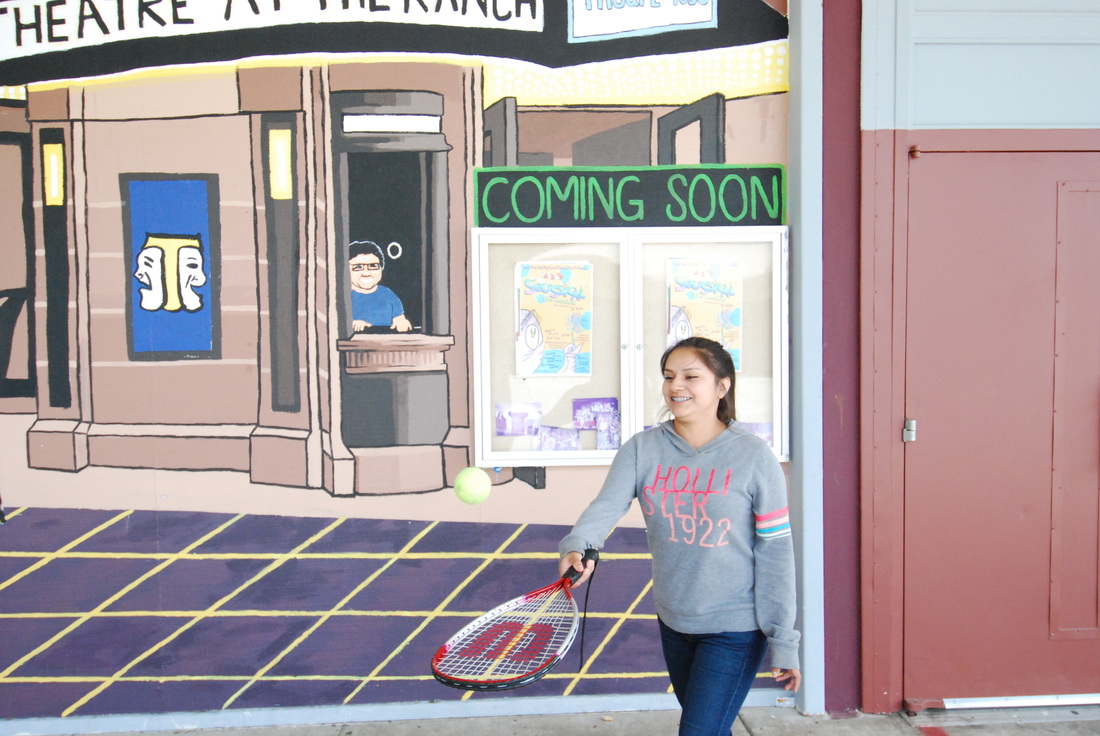
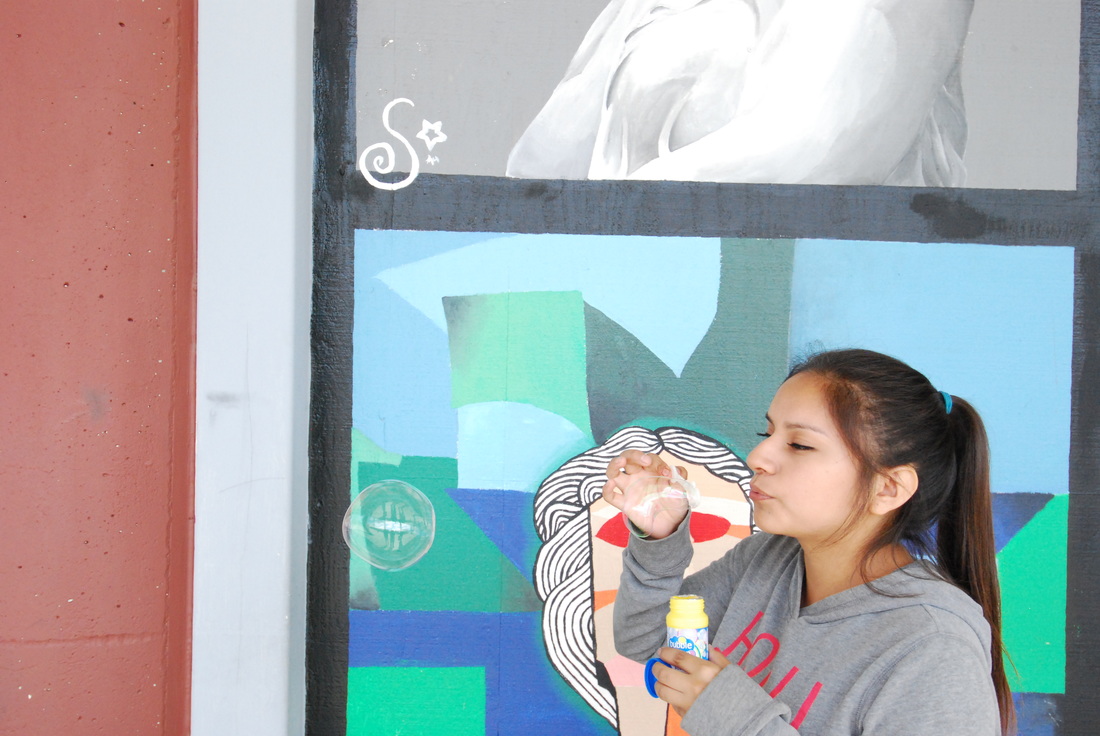
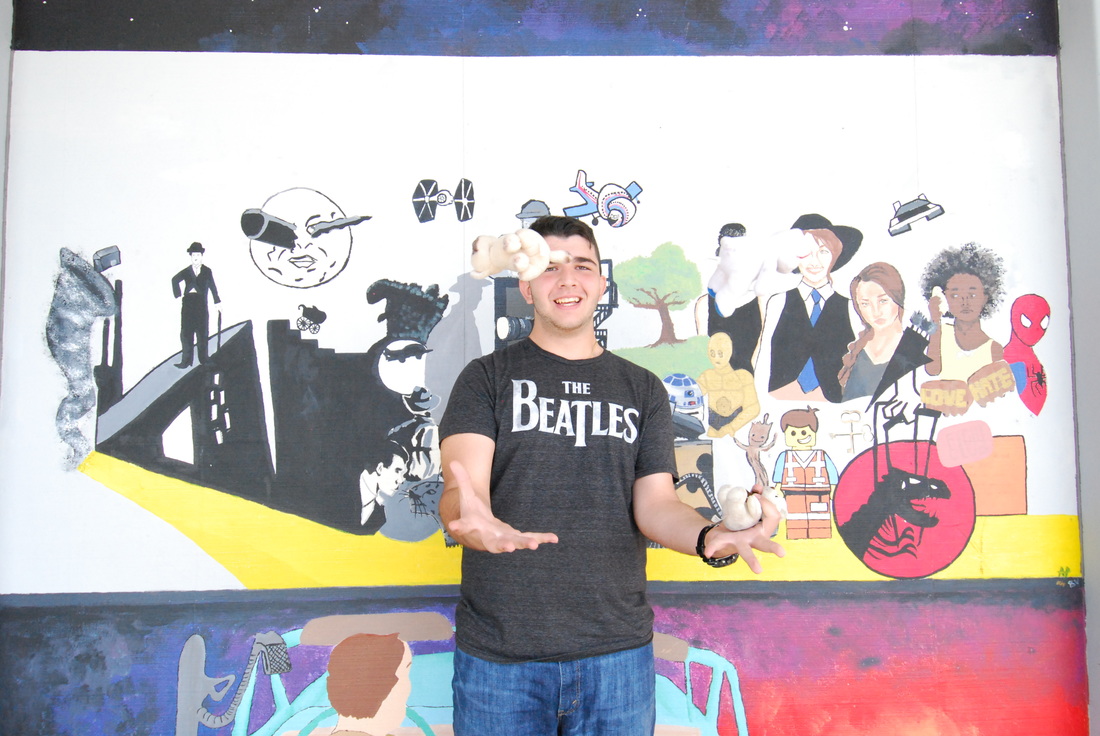
David Hockney Inspired Collage
Rule of Thirds
Rule of Thirds
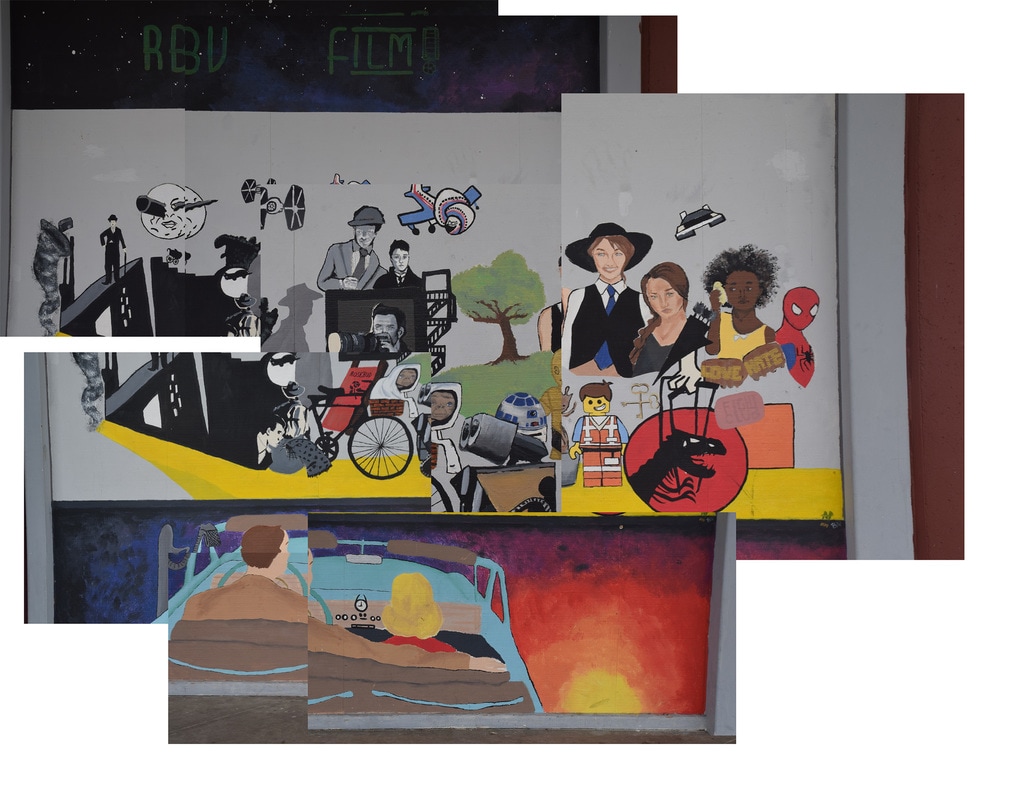
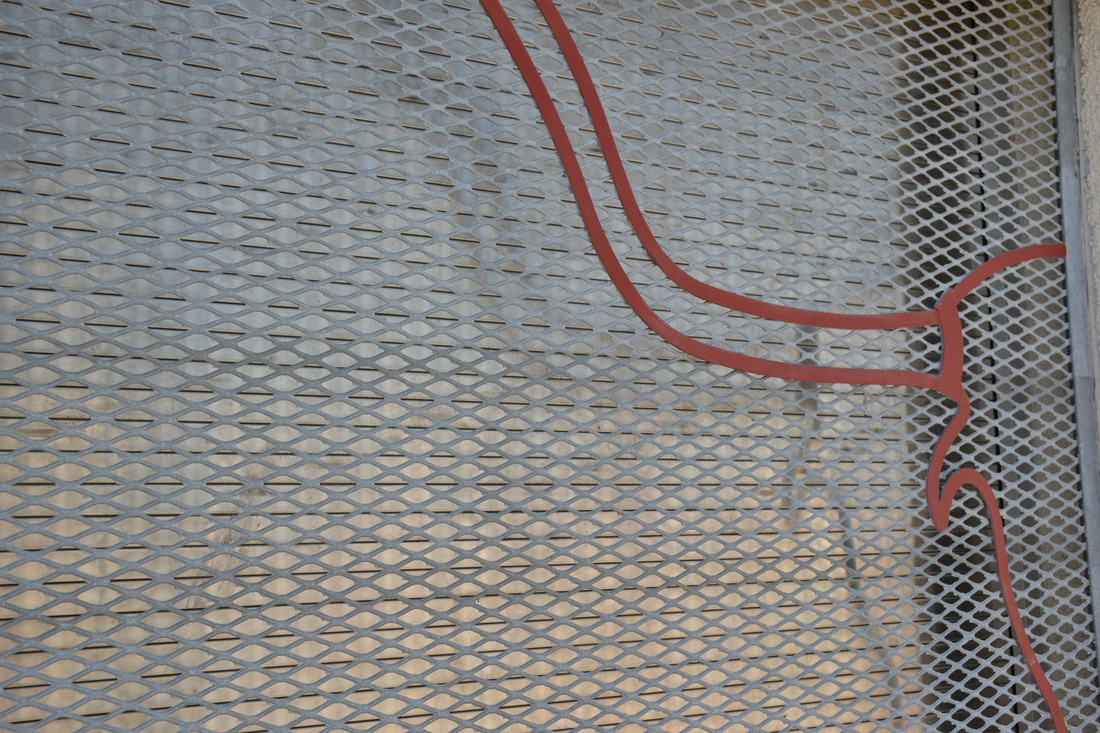
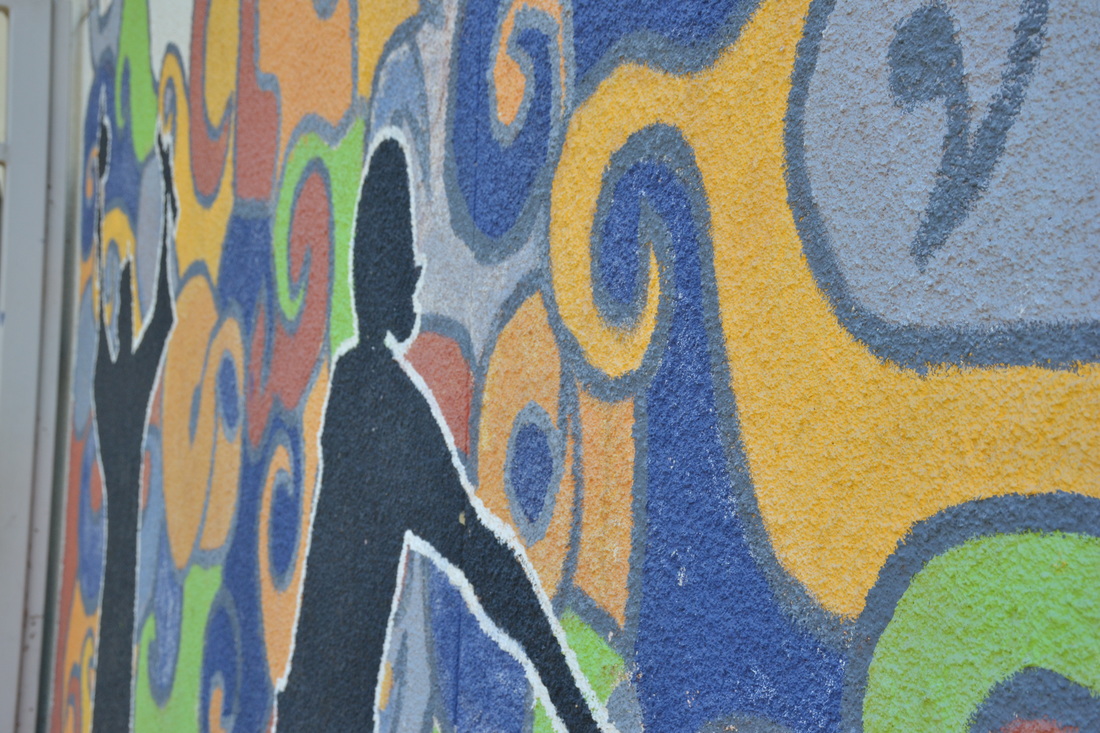
David Hockney was born July 9th, 1937 in Bradford, United Kingdom. He's lived in Yorkshire, United Kingdom, but has returned to Los Angeles in 2013. Hockney experimented a lot with photography in the 1970s, during that time is when he went to create his collages with polaroids and snapshot prints. Hockney has produced work in almost every medium, he's used fax machines, laser photocopiers, computers, and iPhones. This artwork emulates his collage photo style by putting a lot of photos of 1 photo over each other so it looks like layers.
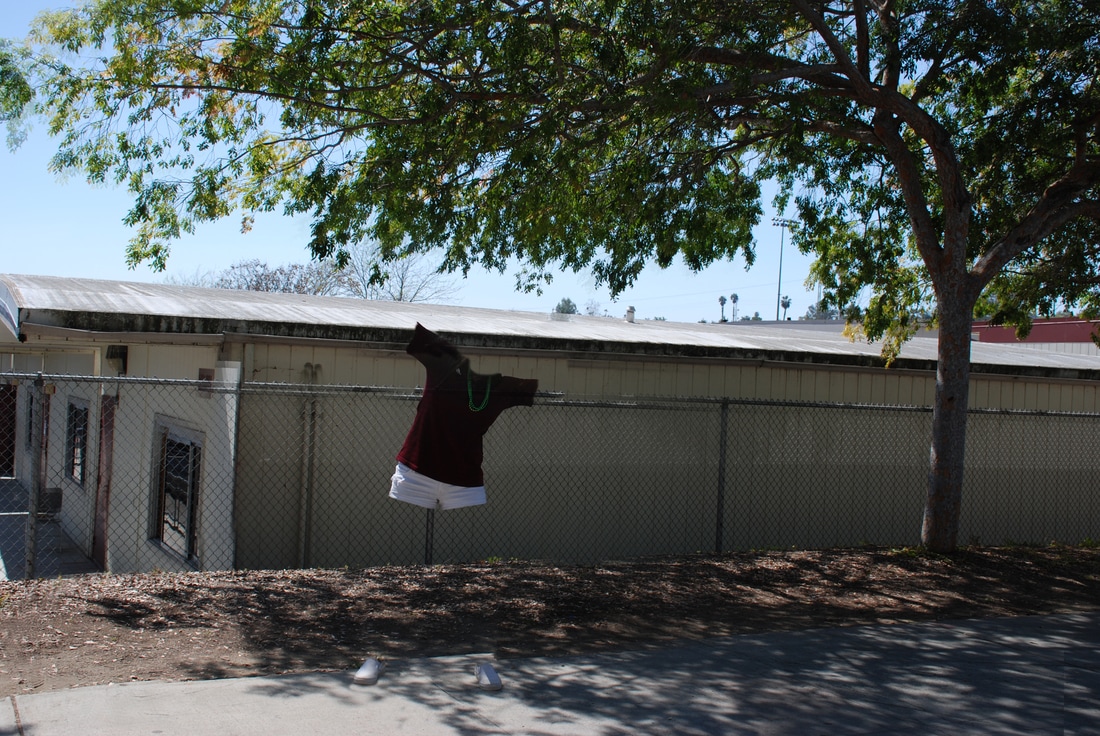
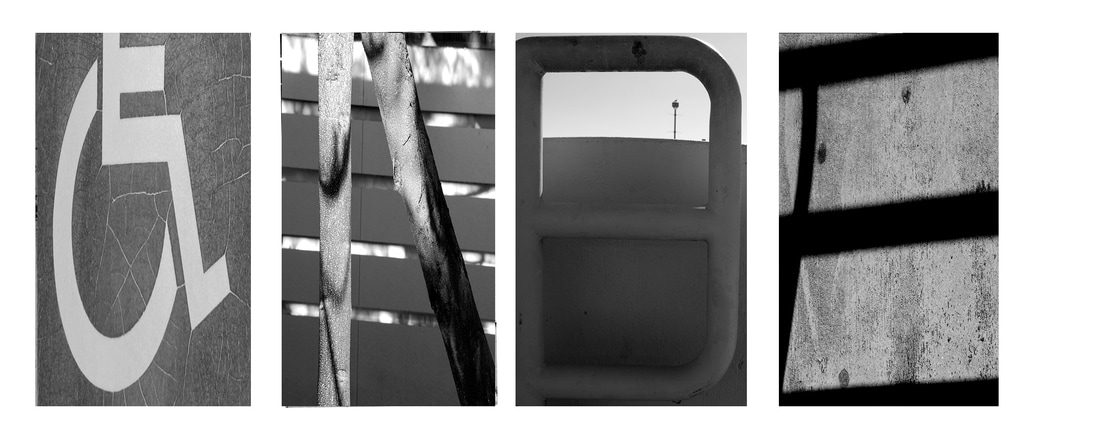
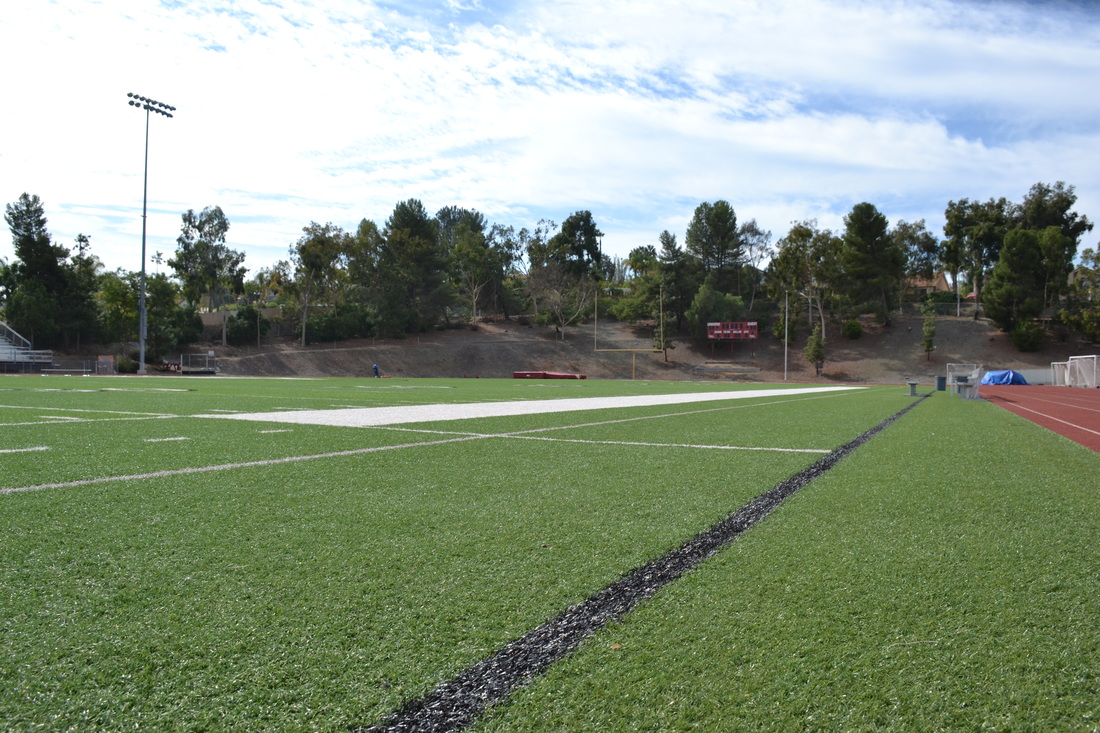
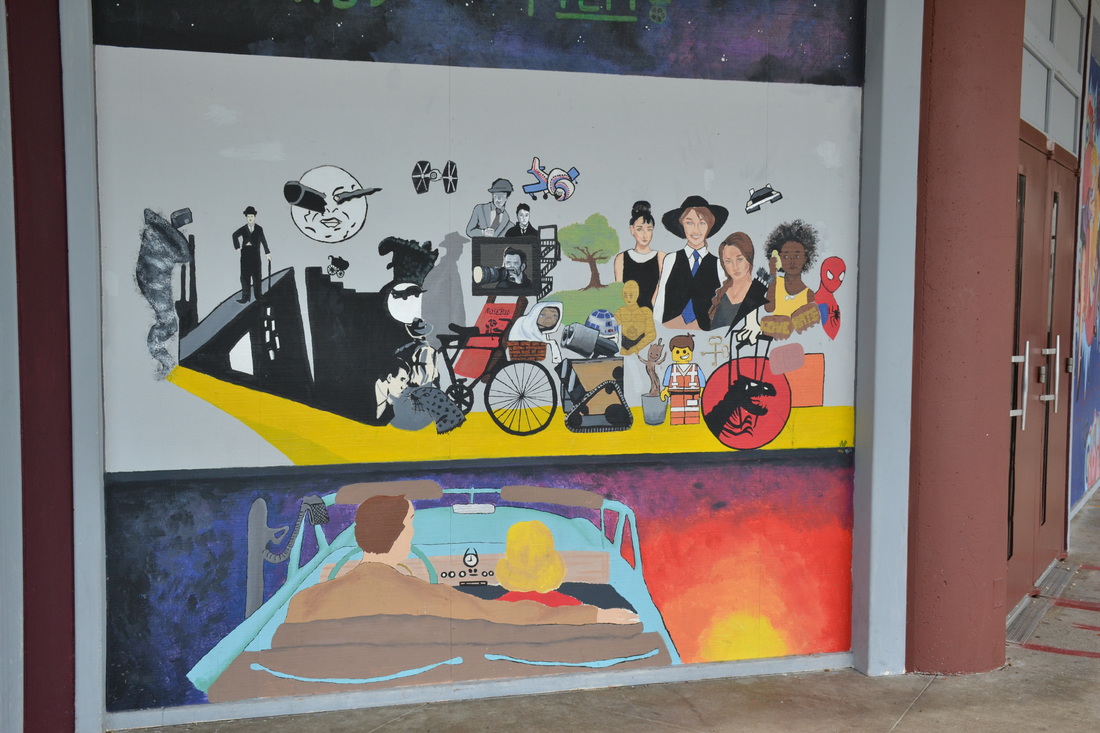
I found some paintings around campus on walls and I thought they would work. I then took between 9-12 pictures each. After I got the pictures I went into photoshop and dragged the first picture on, then I clicked edit, transform, scale and scaled the picture. I did that individually for every picture I was using and I would just try to layer the pictures over each other and line them up. I feel like the second one turned out better than the first. I used rule of thirds for both.
I found some paintings around campus on walls and I thought they would work. I then took between 9-12 pictures each. After I got the pictures I went into photoshop and dragged the first picture on, then I clicked edit, transform, scale and scaled the picture. I did that individually for every picture I was using and I would just try to layer the pictures over each other and line them up. I feel like the second one turned out better than the first. I used rule of thirds for both.
Magazine Cover
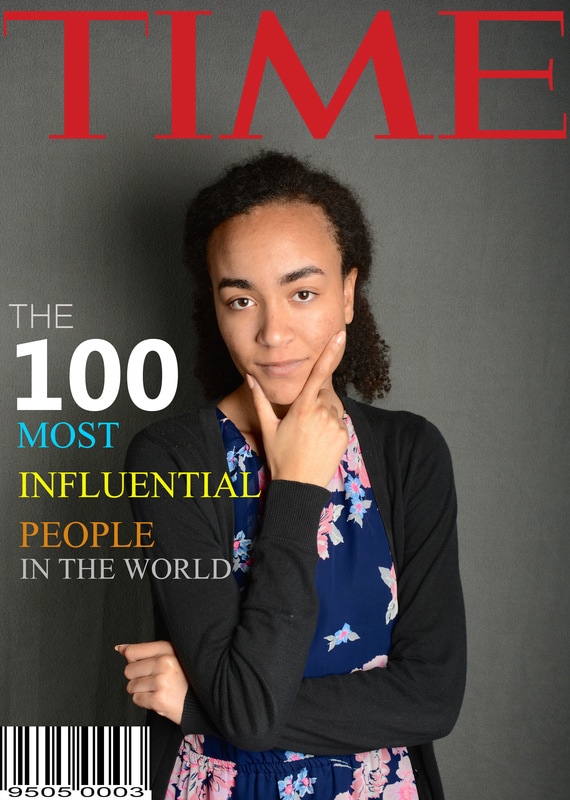
I chose "Time Magazine" because it was the first magazine that came to my mind and I felt like with her poses it could work as the cover for "Time". What I did to emulate the magazine style was I had her do a simple pose and I used their 100 most influential people cover type. I used a simple font that's easy to read. I had 5 different colors (Grey, white, blue, yellow, and orange). The colors are the same as the real "The 100 most influential people in the world" magazine cover colors.
How I set up the photograph was I had my model stand in front of a grey blanket and I set up a soft box, and then I had someone who was holding a reflector stand beside her that's why her face looks like it is shining. After all that was set up I had her do some different poses and after looking at all of them I picked the one I thought looked best.
A strobe light is a device used to produce regular flashes of light.
A modeling light is a continuous light source it allows a photographer to visually a sense of the lighting effect the flash, when it fires, will create.
A soft box is a light modifier. It reduces shadows.
A reflector is an improvised or specialised reflective surface used to redirect light towards a given subject or scene.
A grey card is a way to produce consistent image exposure and/or color.
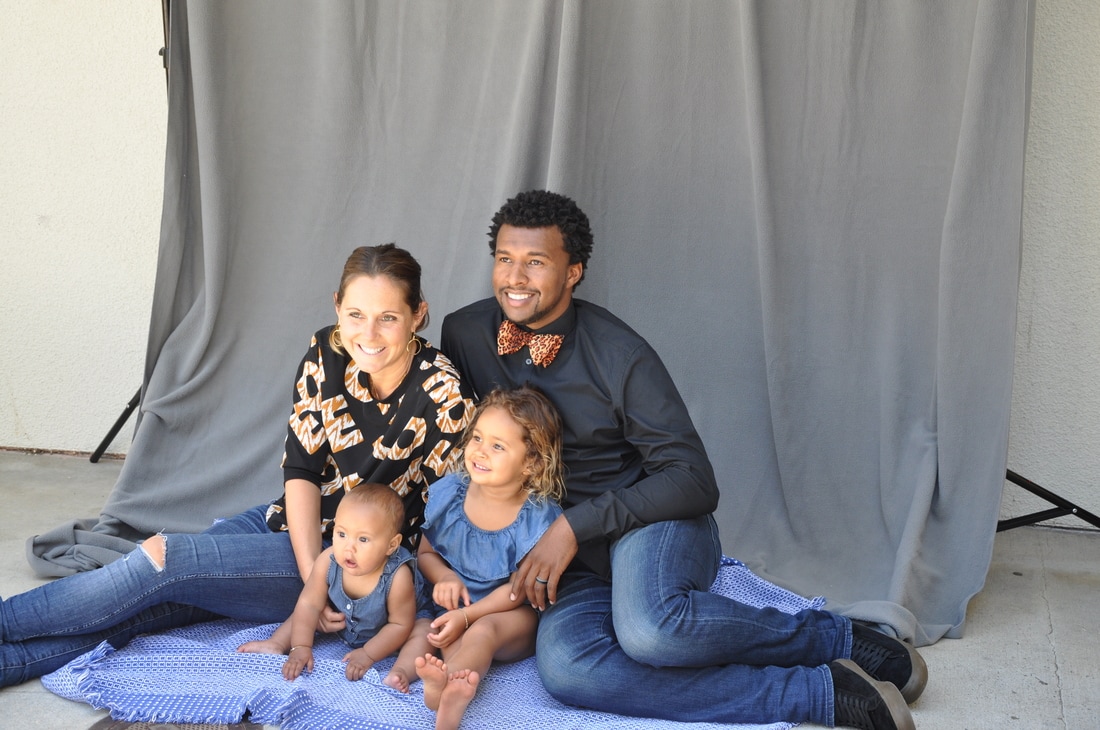
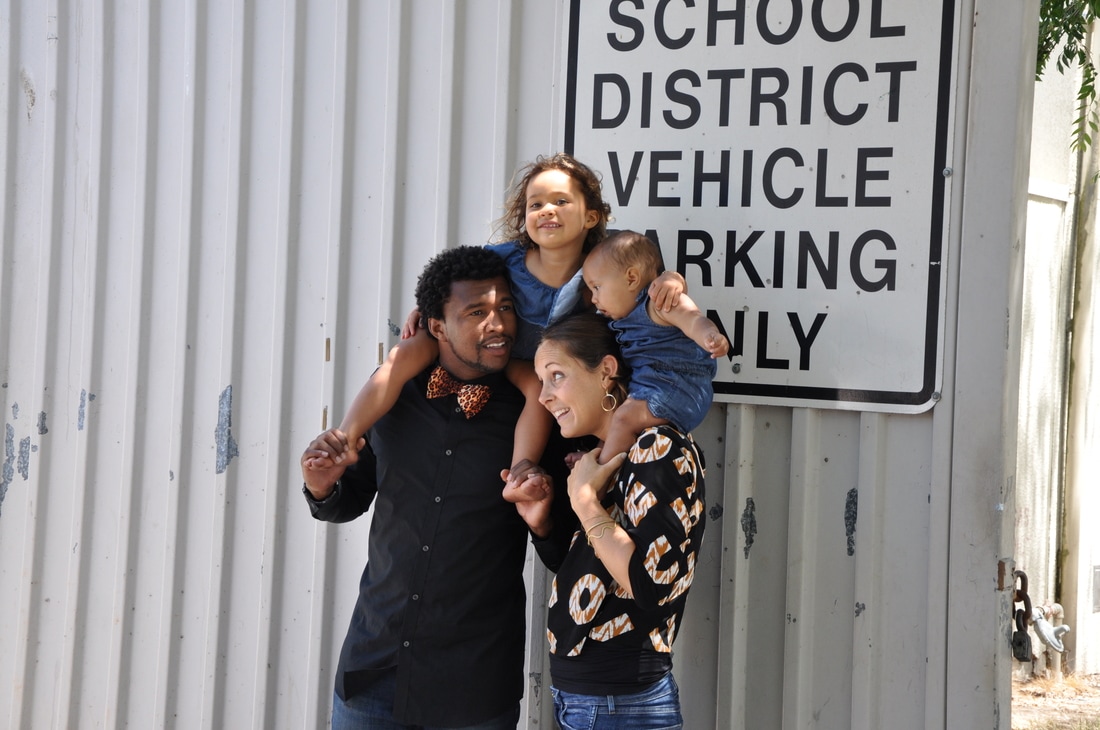
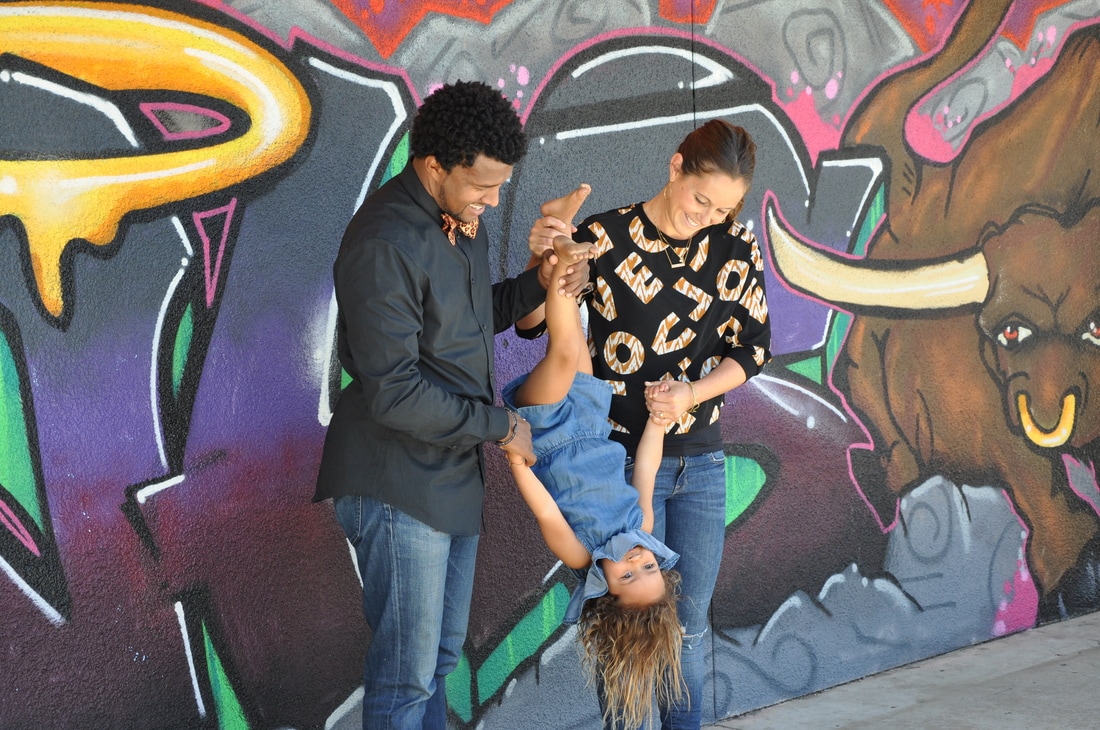
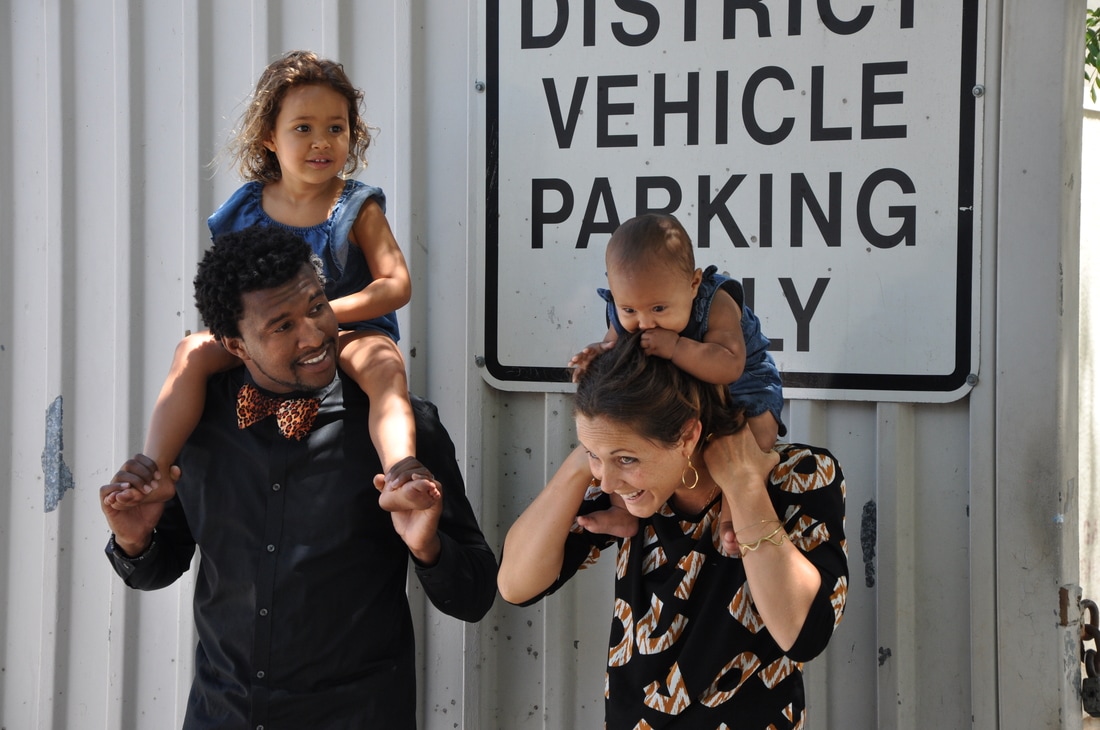
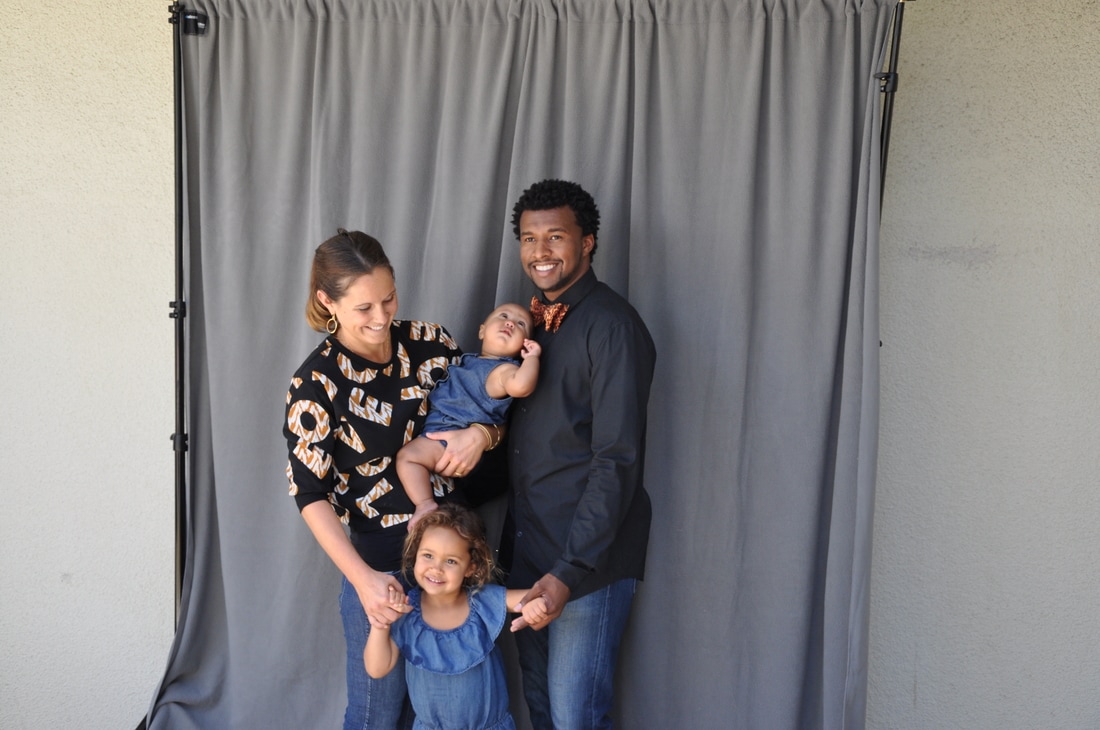
Family Photography
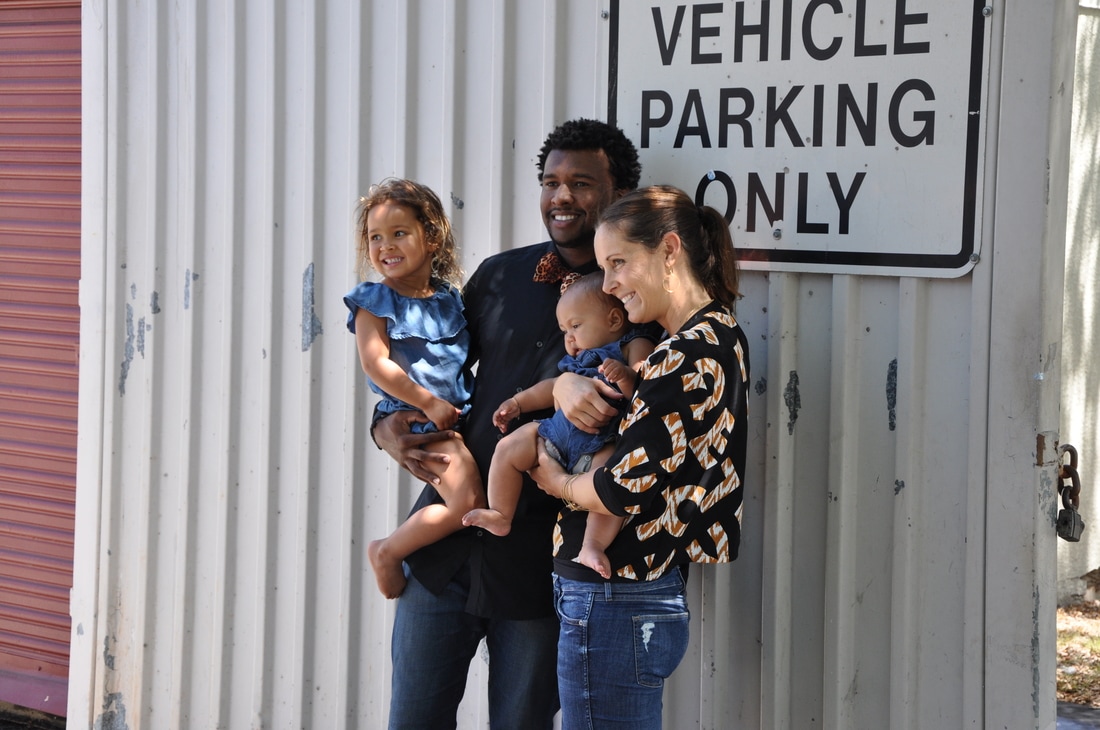
f/5.6, ISO 400, 1/250th of a second
f/5.6, ISO 400, 1/90th of a second
f/5.6, ISO 400, 1/250th of a second
f/5.6, ISO 400, 1/250th of a second
f/5.6, ISO 400, 1/250th of a second
f/5.6, ISO 400, 1/180th of a second
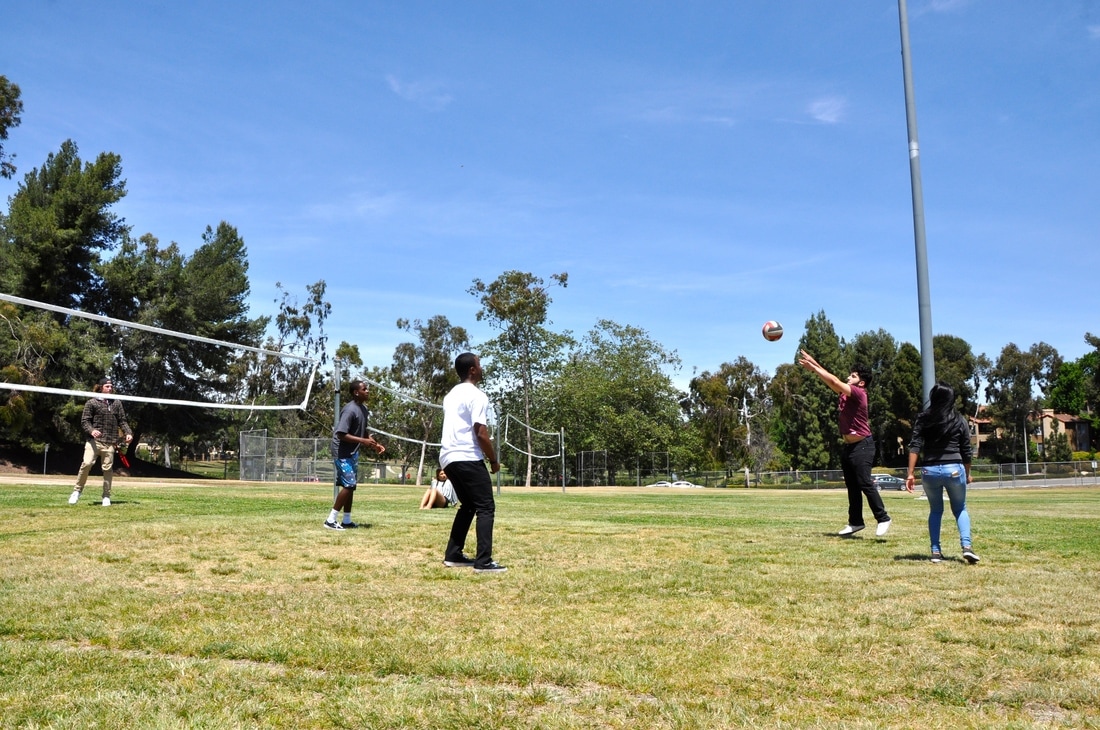
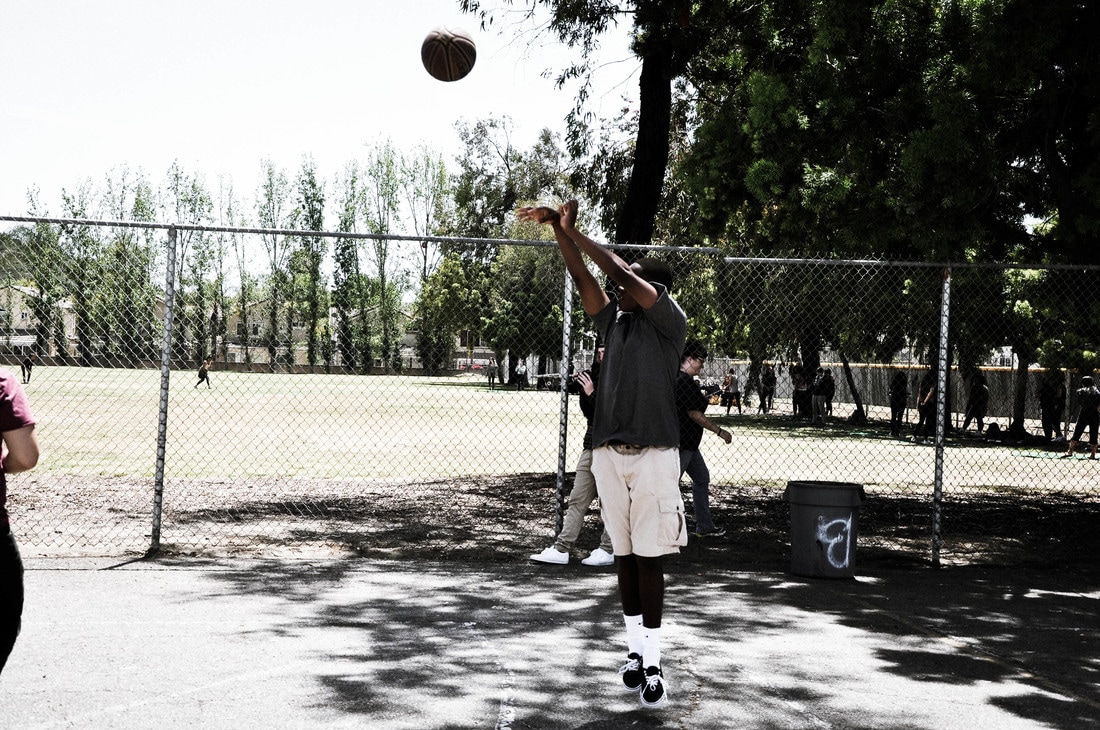
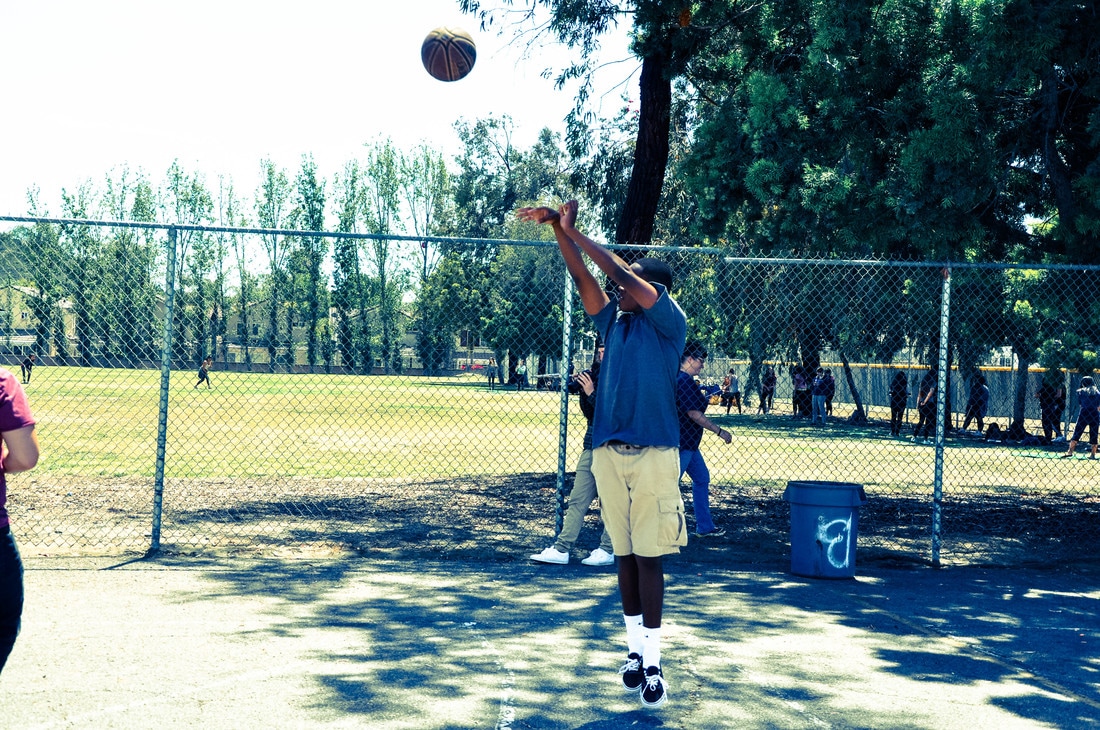
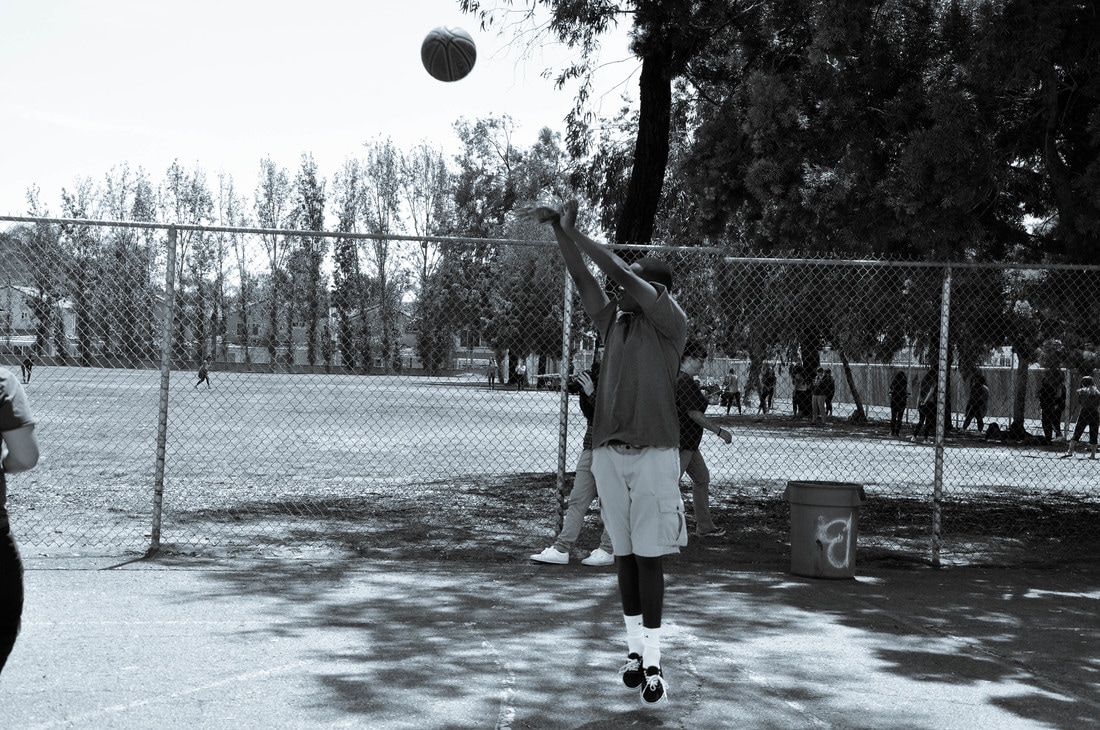
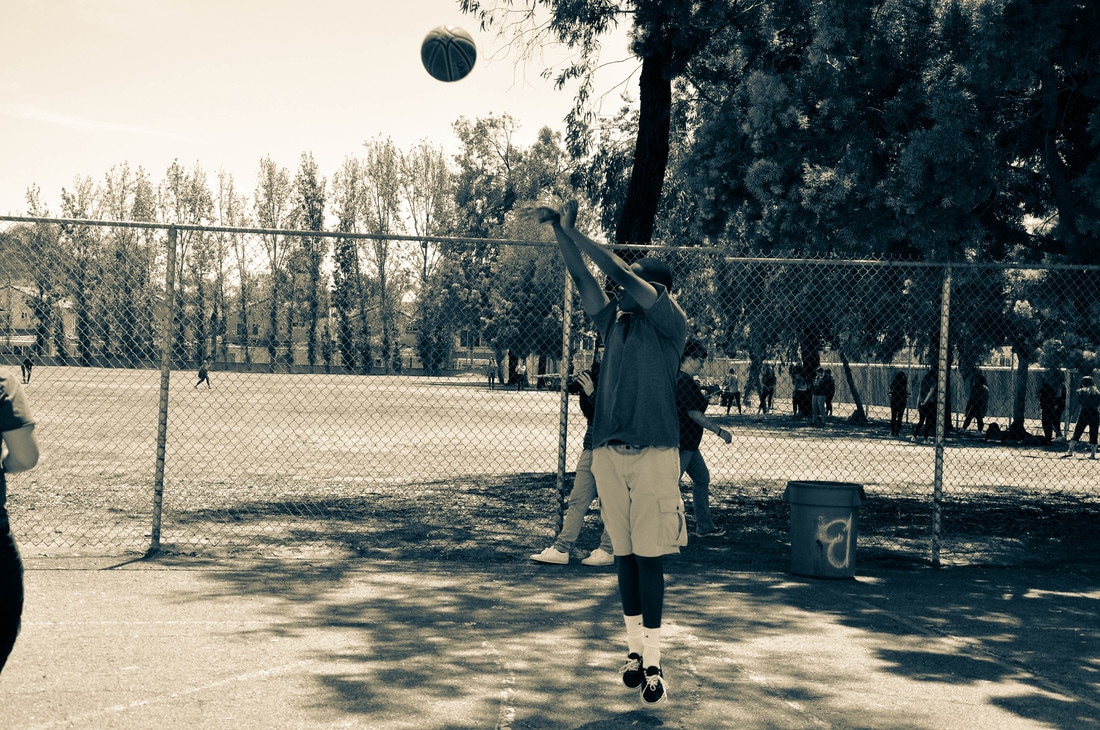
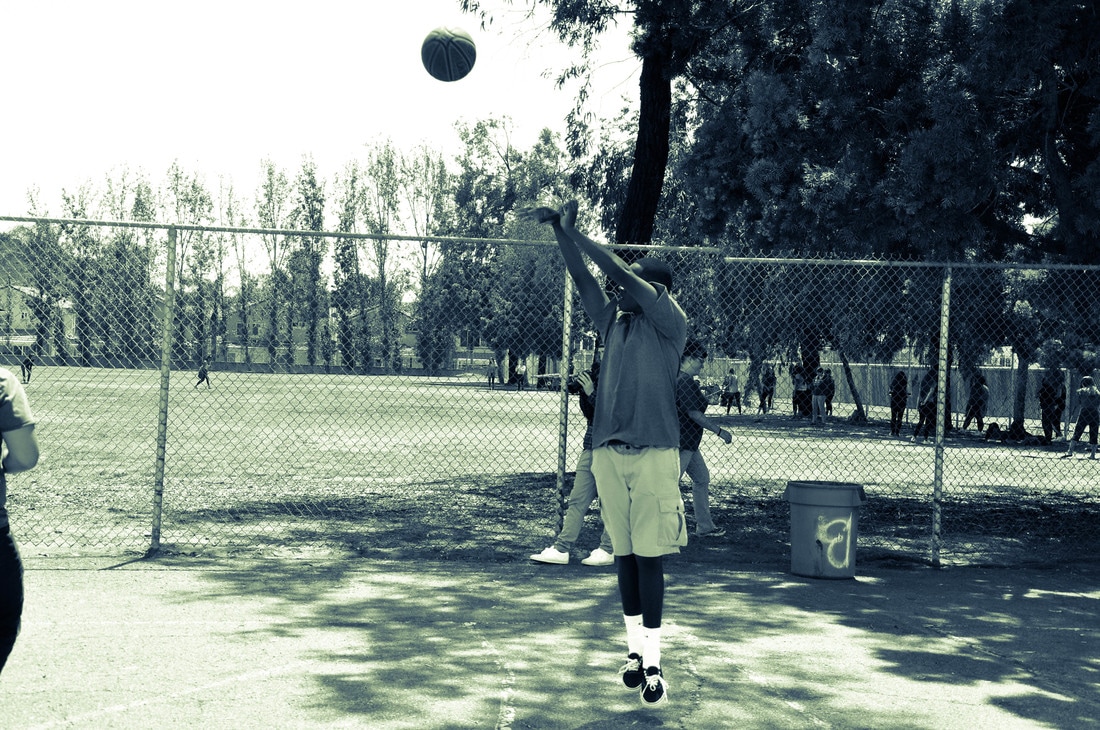
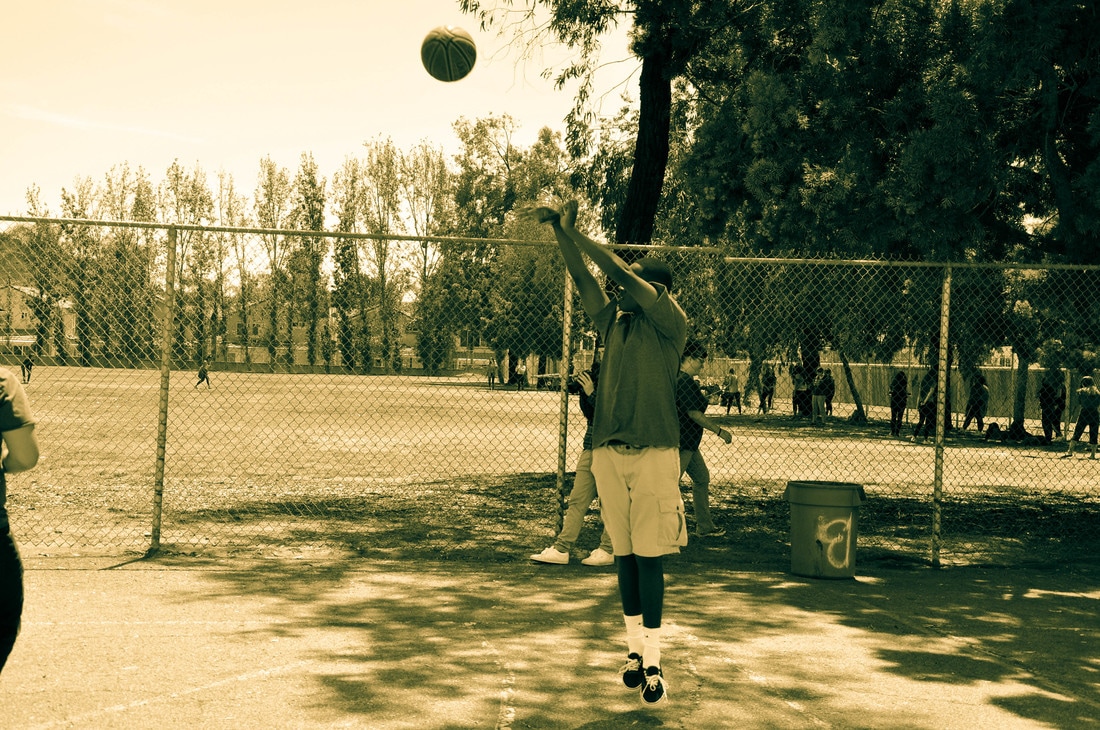
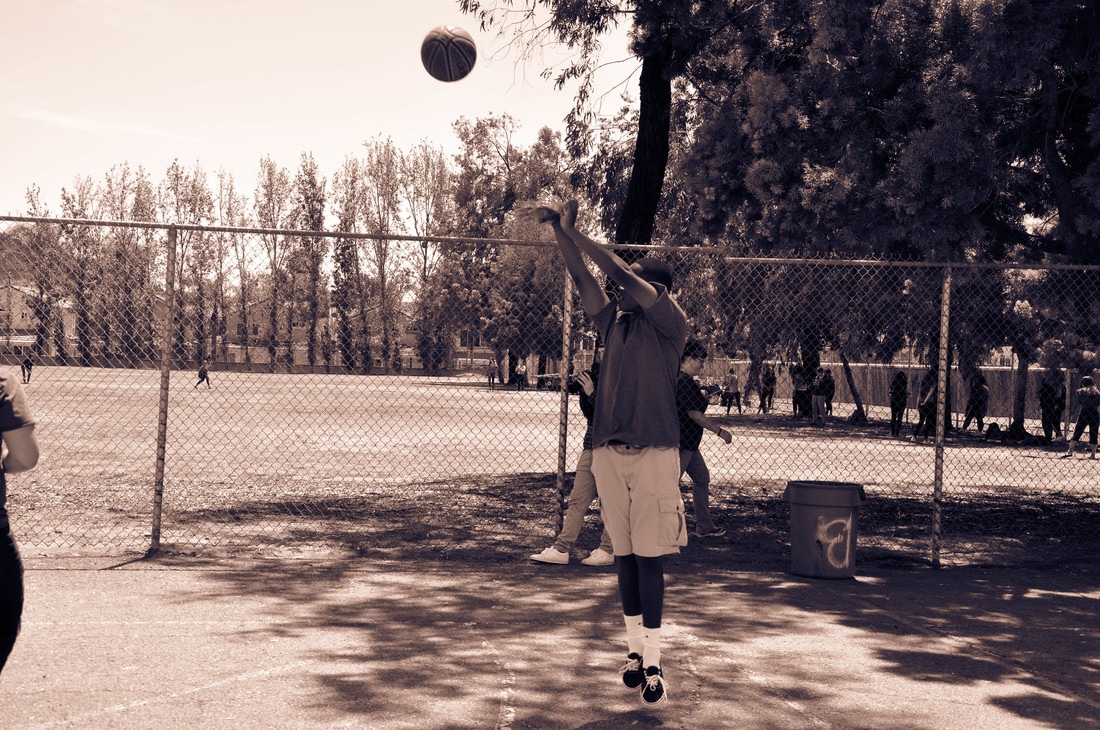
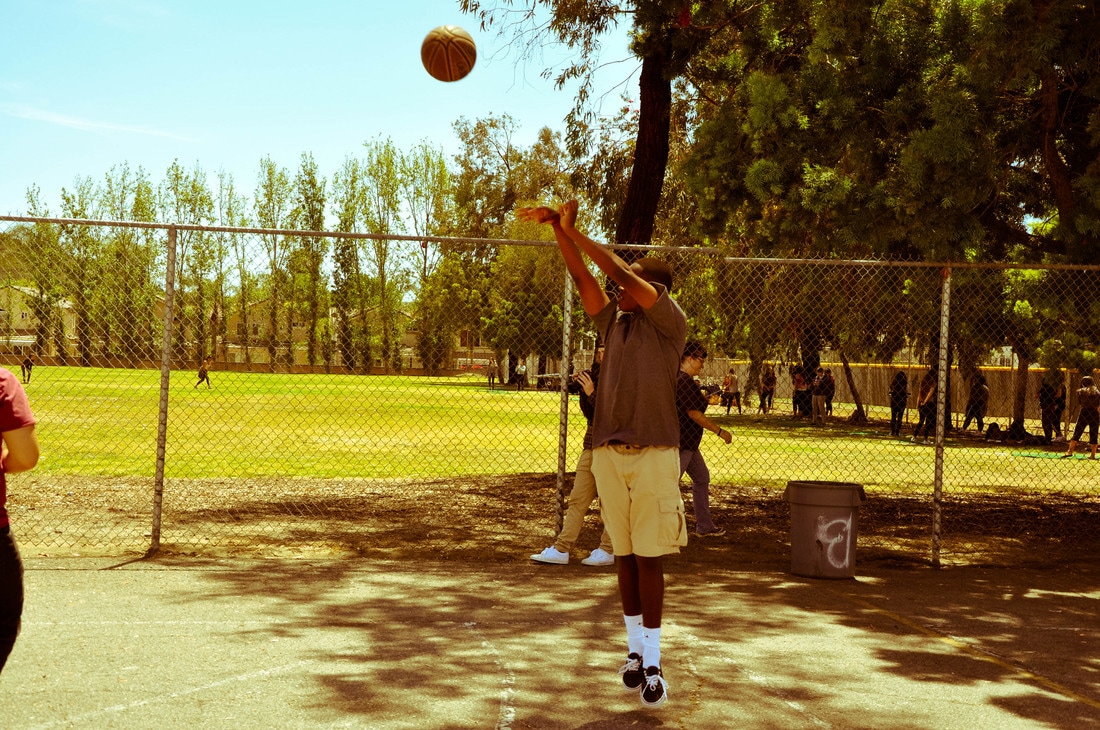
Sports
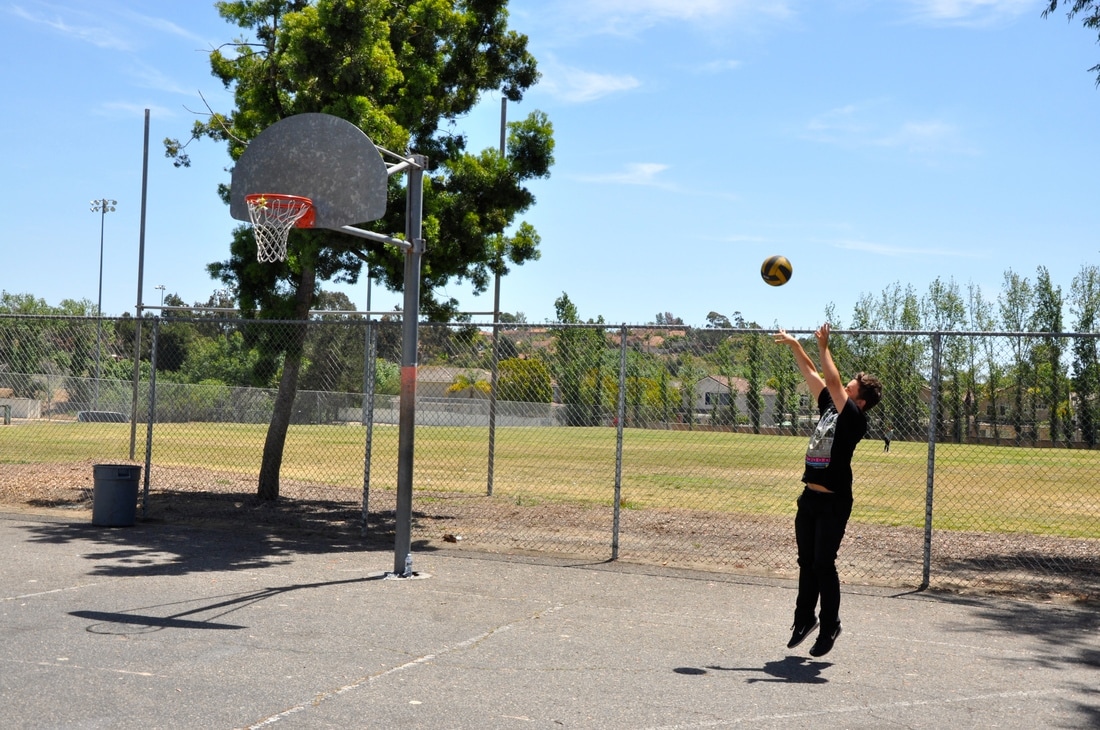
ISO: 400 Aperture: f/8 Shutter Speed: 1/750 of a second
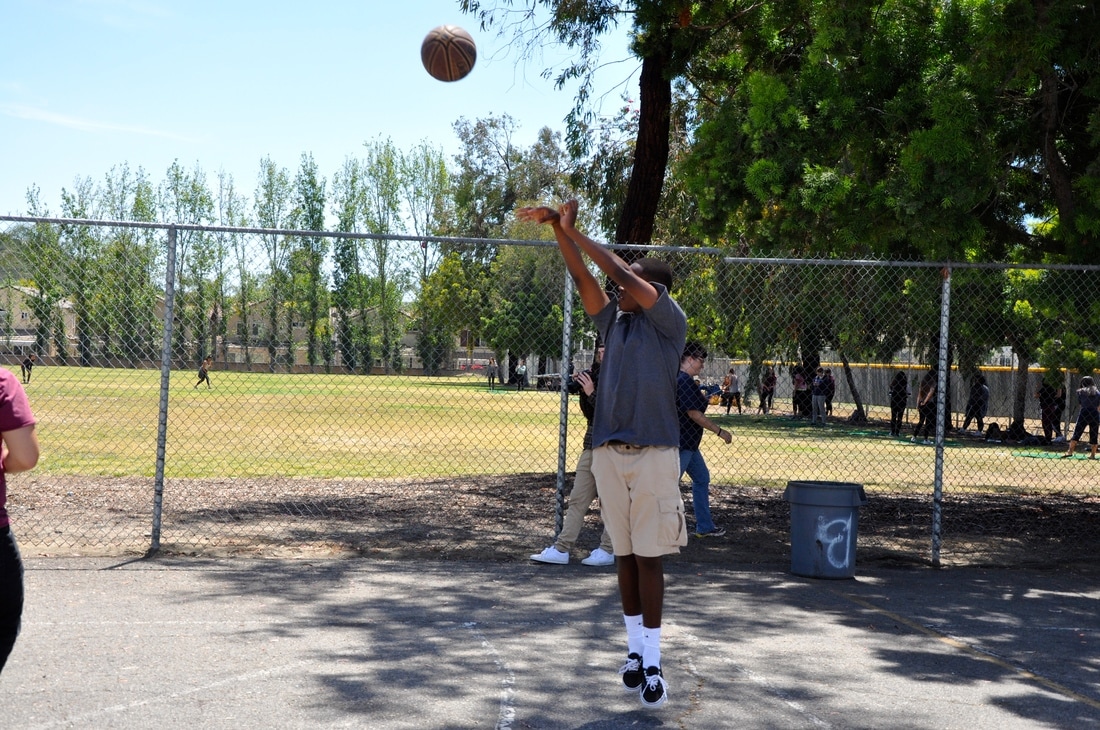
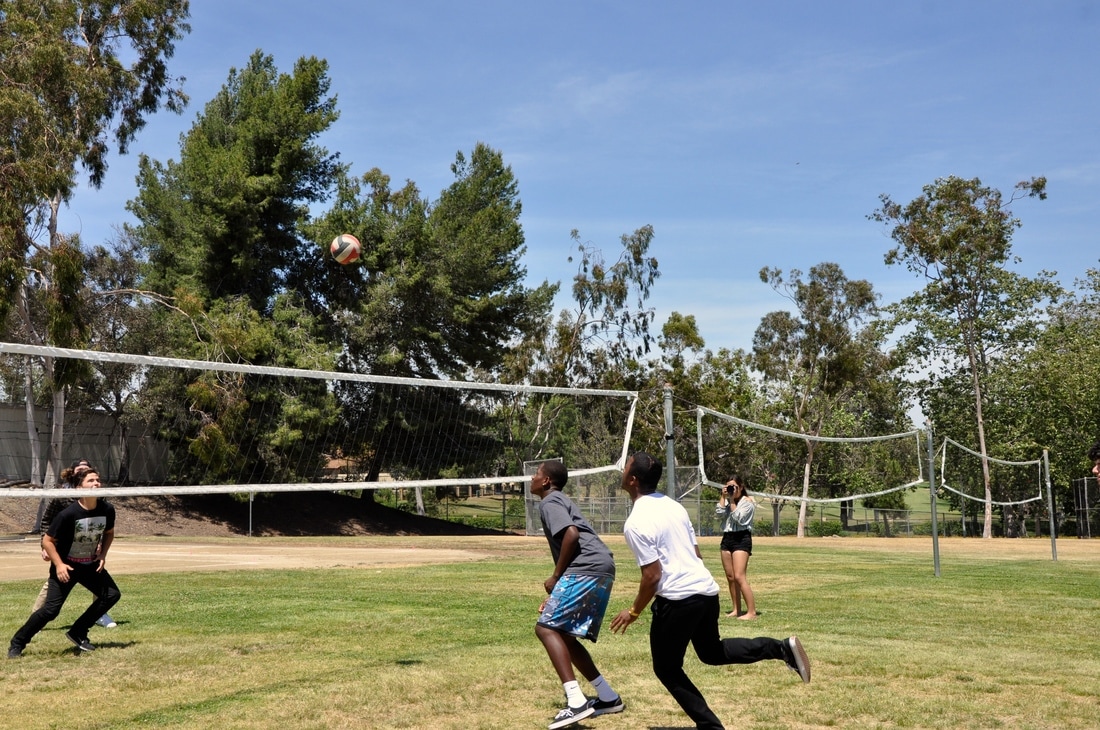
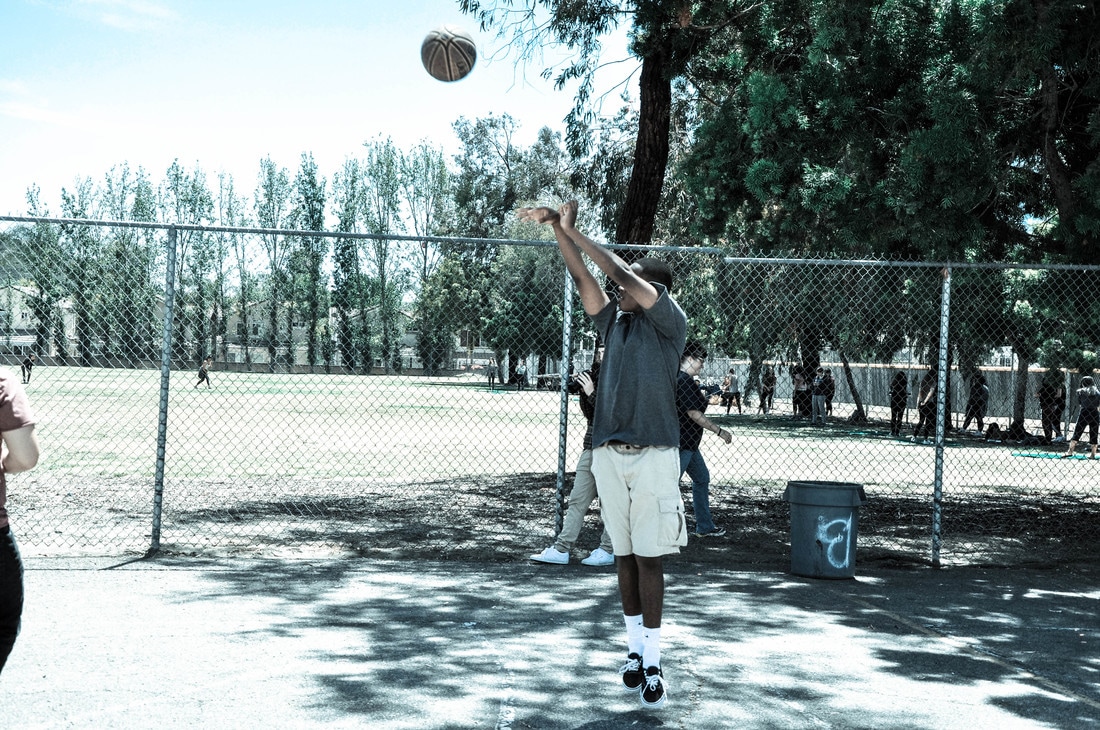
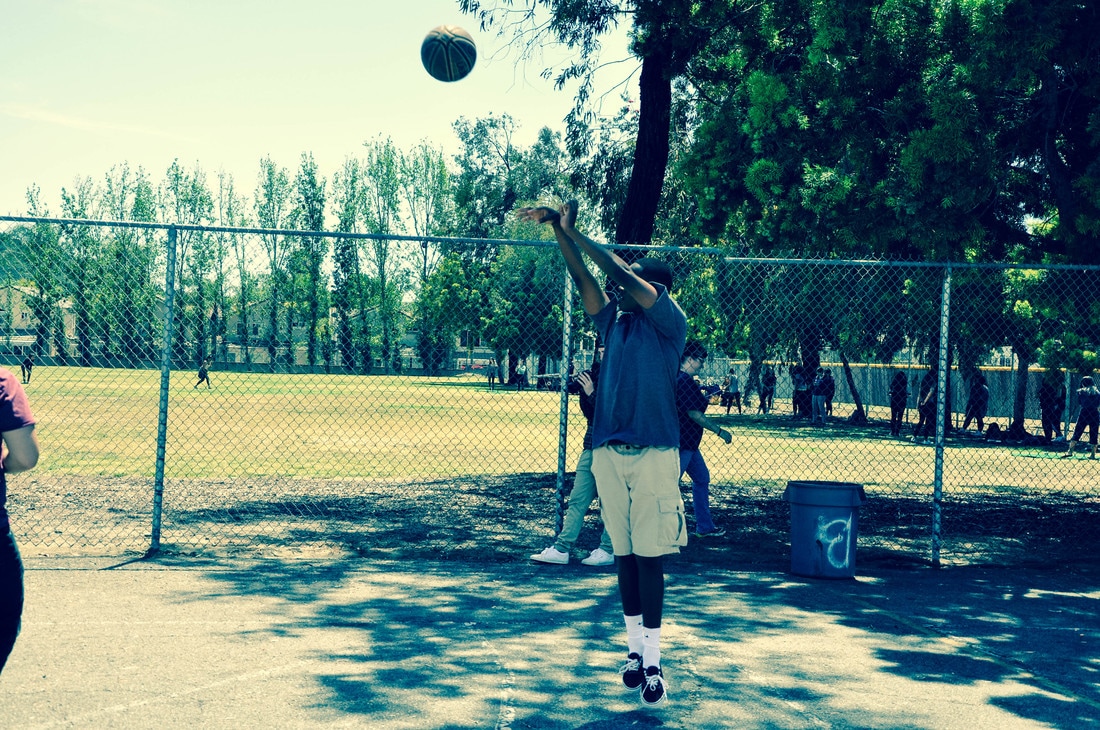
ISO: 400 Aperture: f/6.7 Shutter Speed: 1/750 of a second
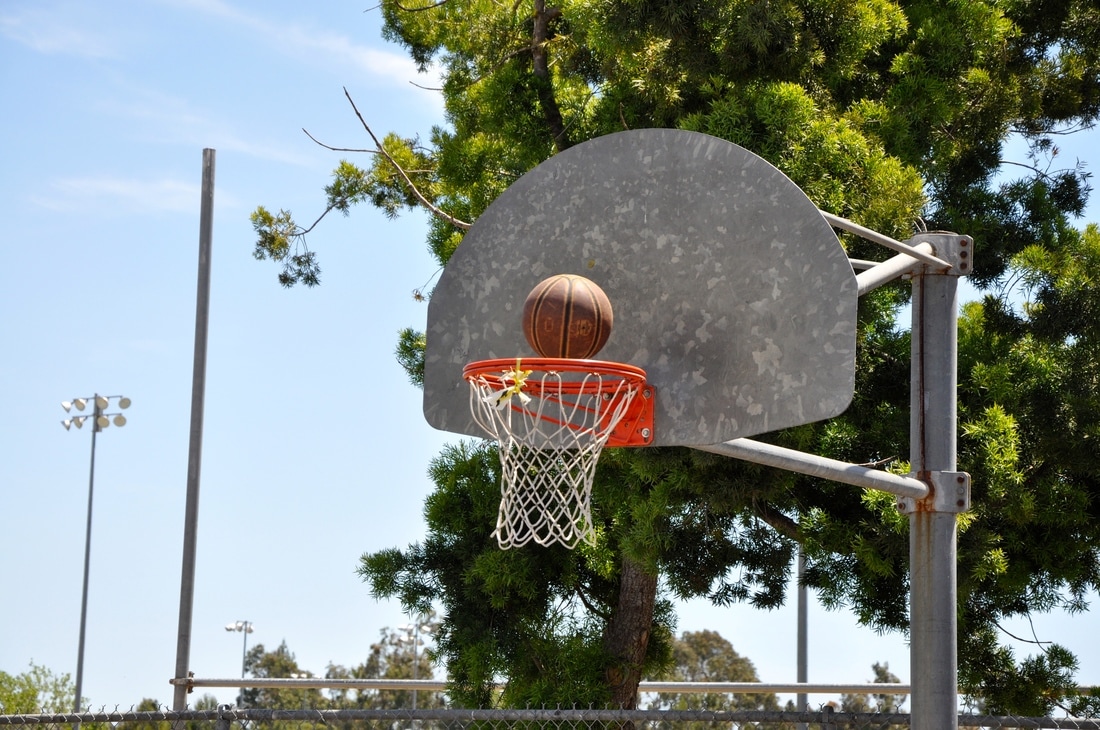
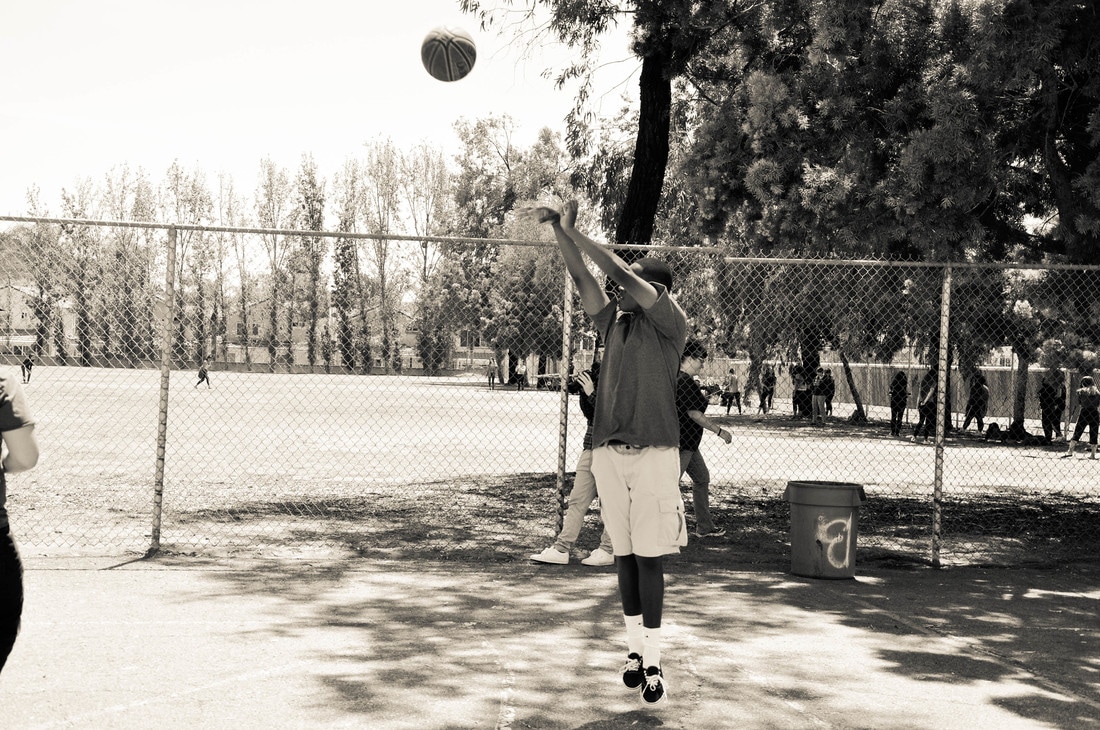
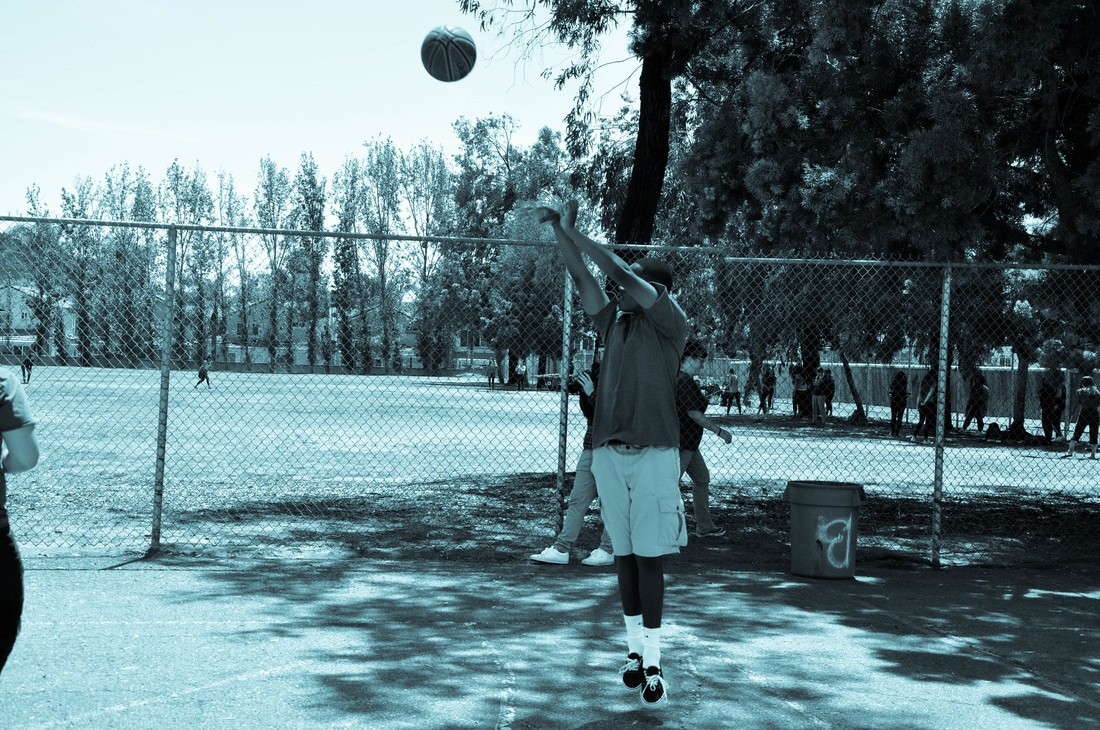
ISO: 400 Aperture: f/8 Shutter Speed: 1/750 of a second
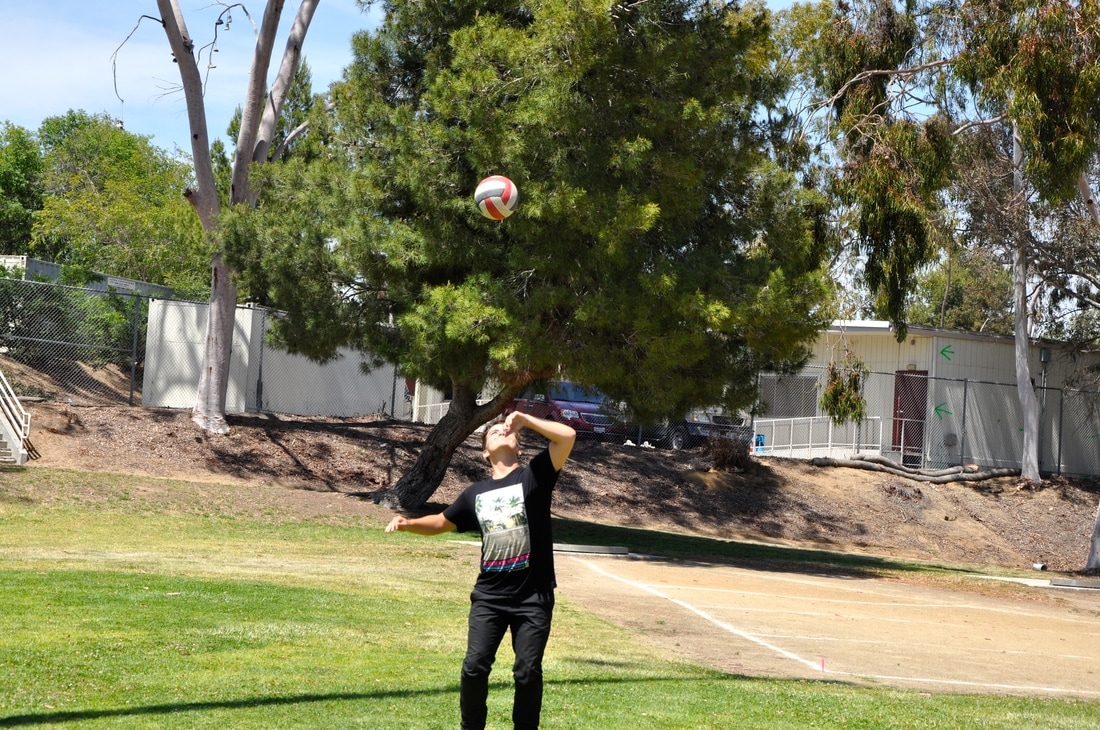
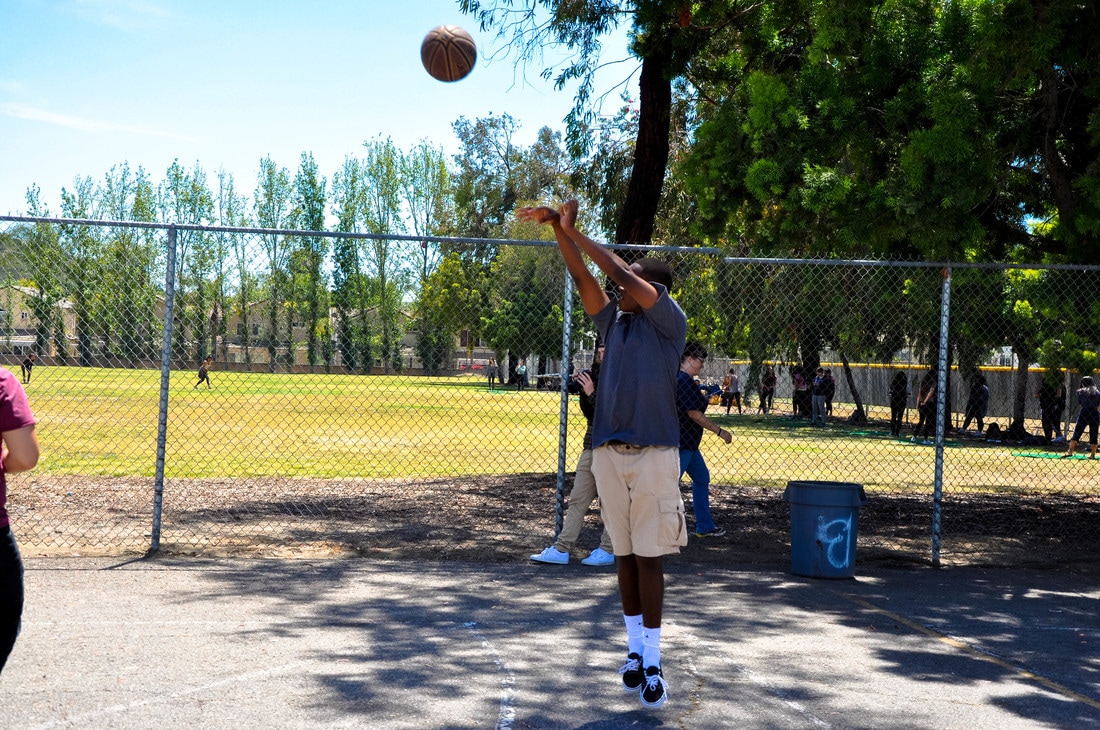
ISO: 400 Aperture: f/9.5 Shutter Speed: 1/750 of a second
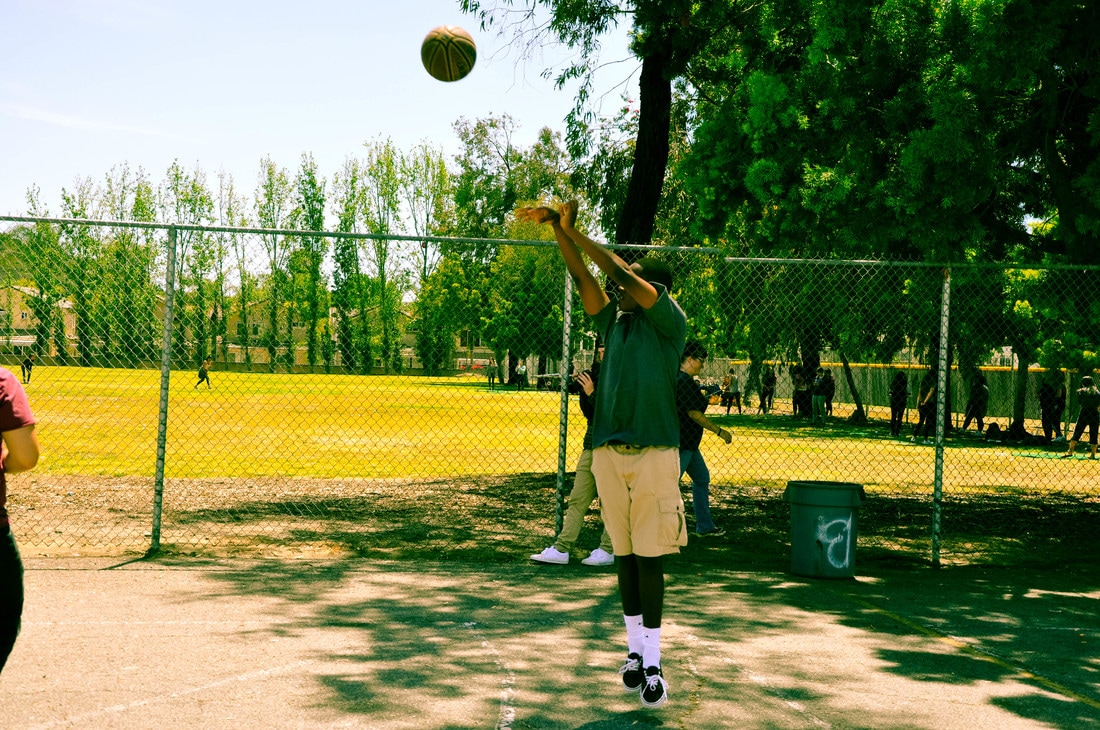
ISO: 400 Aperture: f/11 Shutter Speed: 1/750 of a second
ISO: 400 Aperture: f/9.5 Shutter Speed: 1/750 of a second
Del Mar Fair
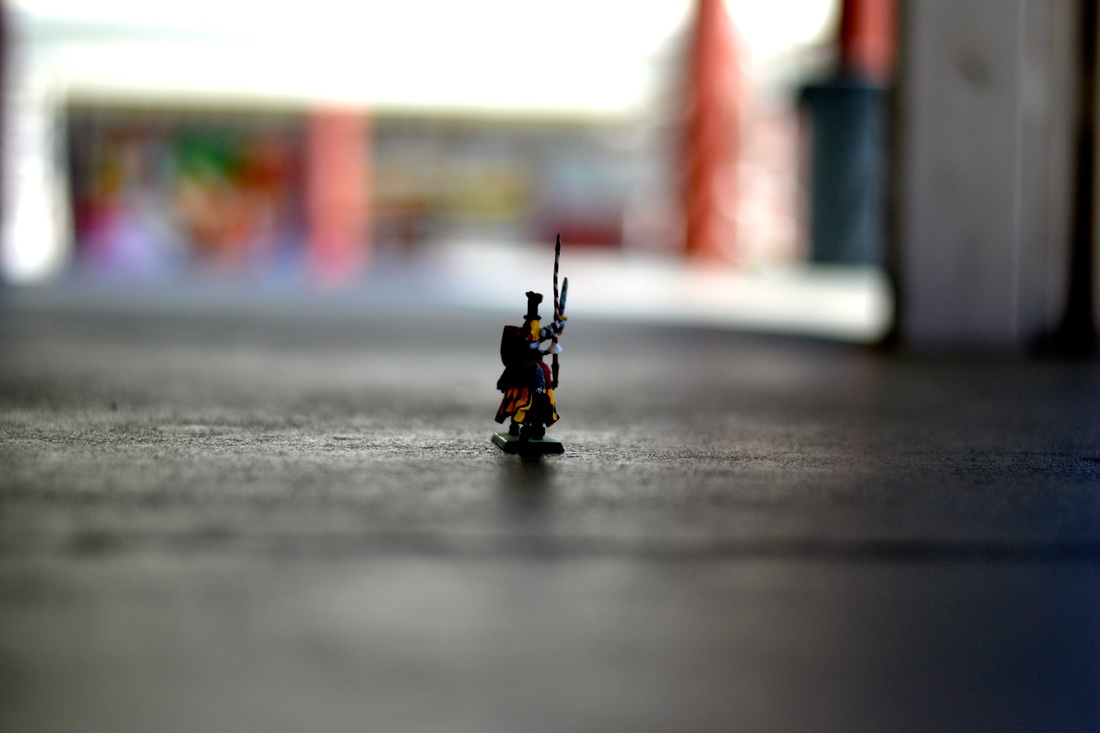
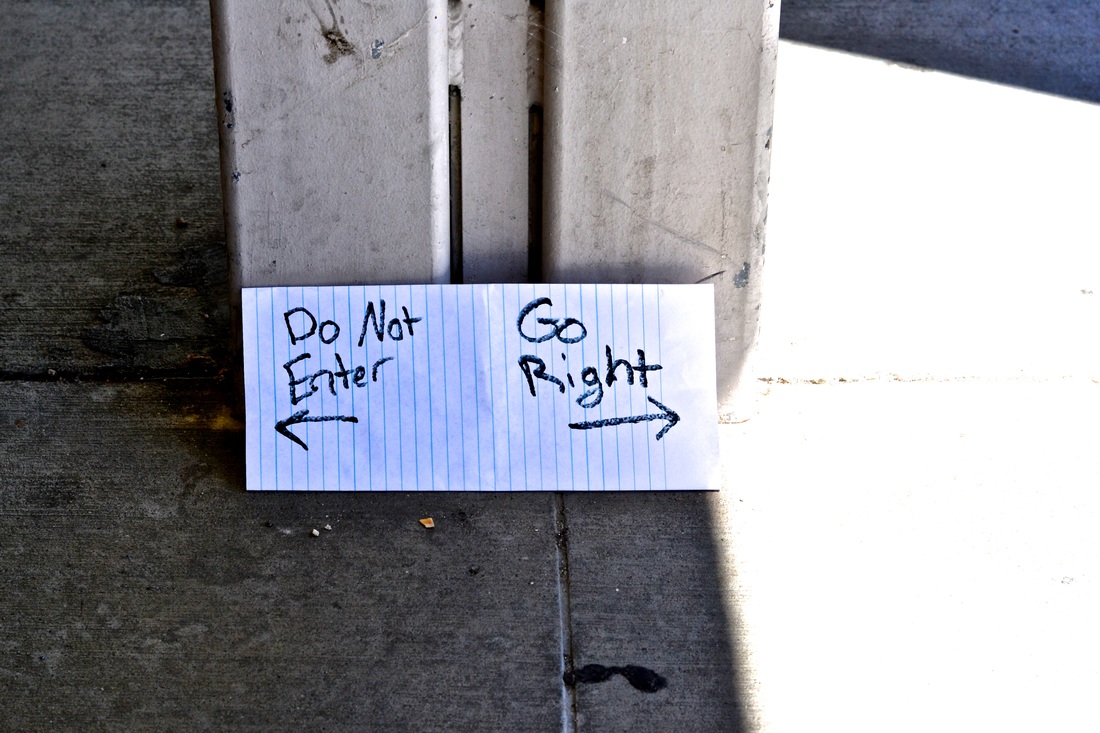
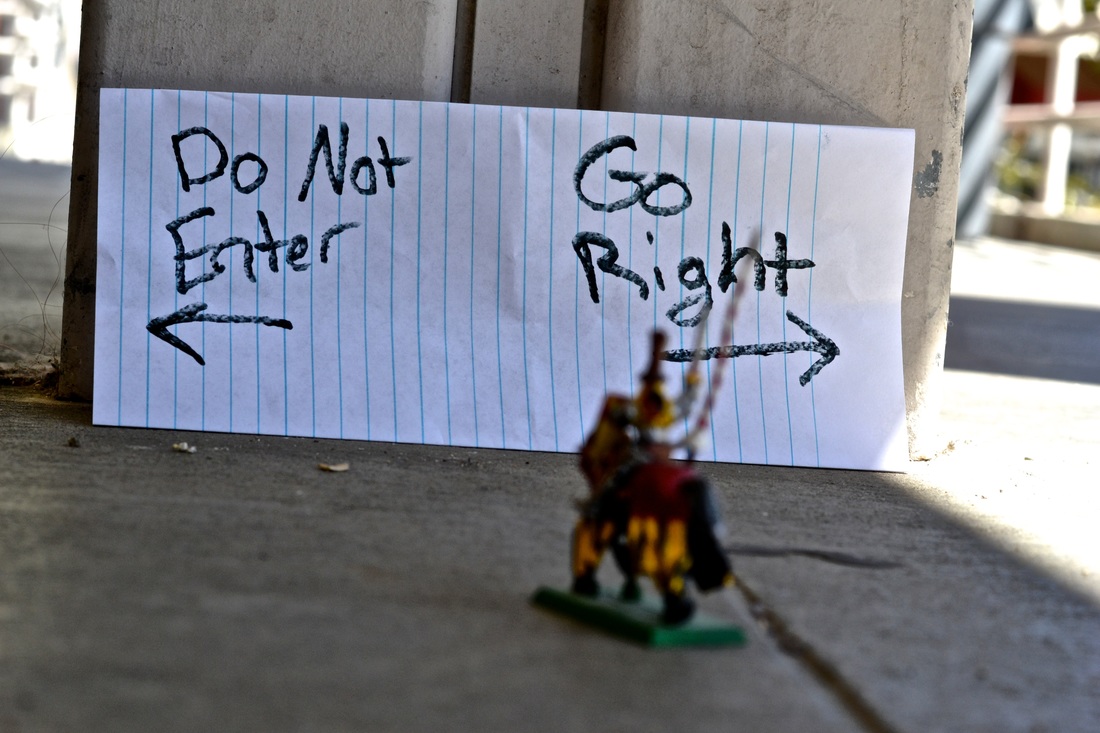
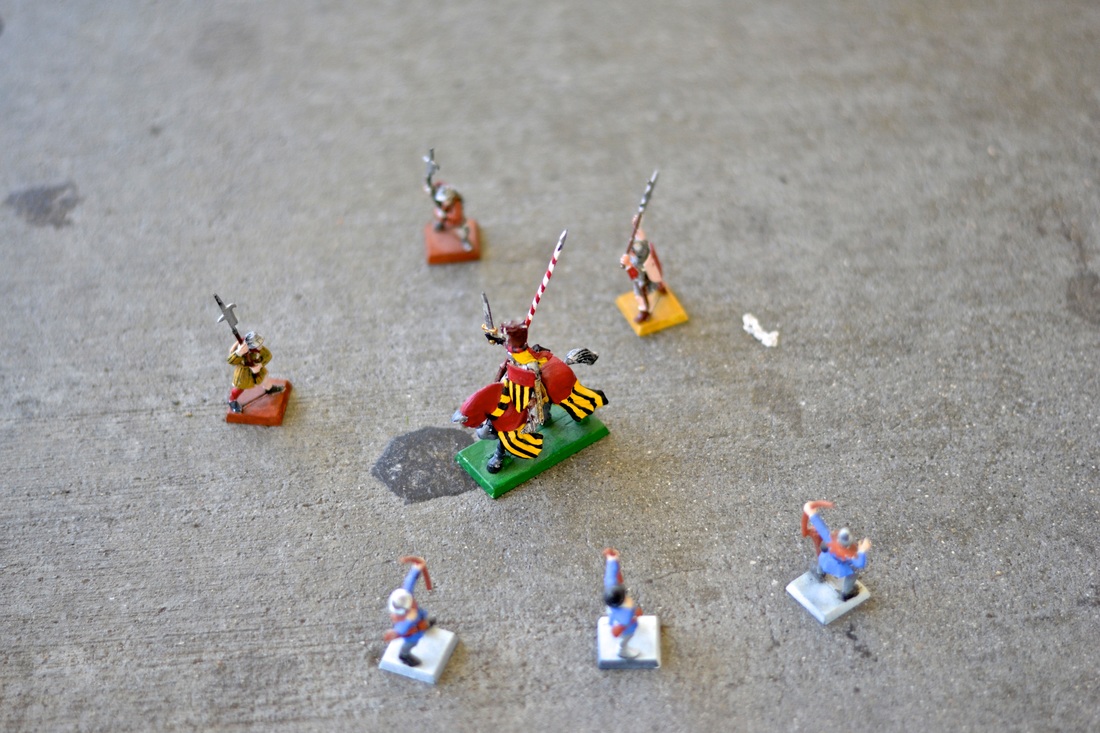
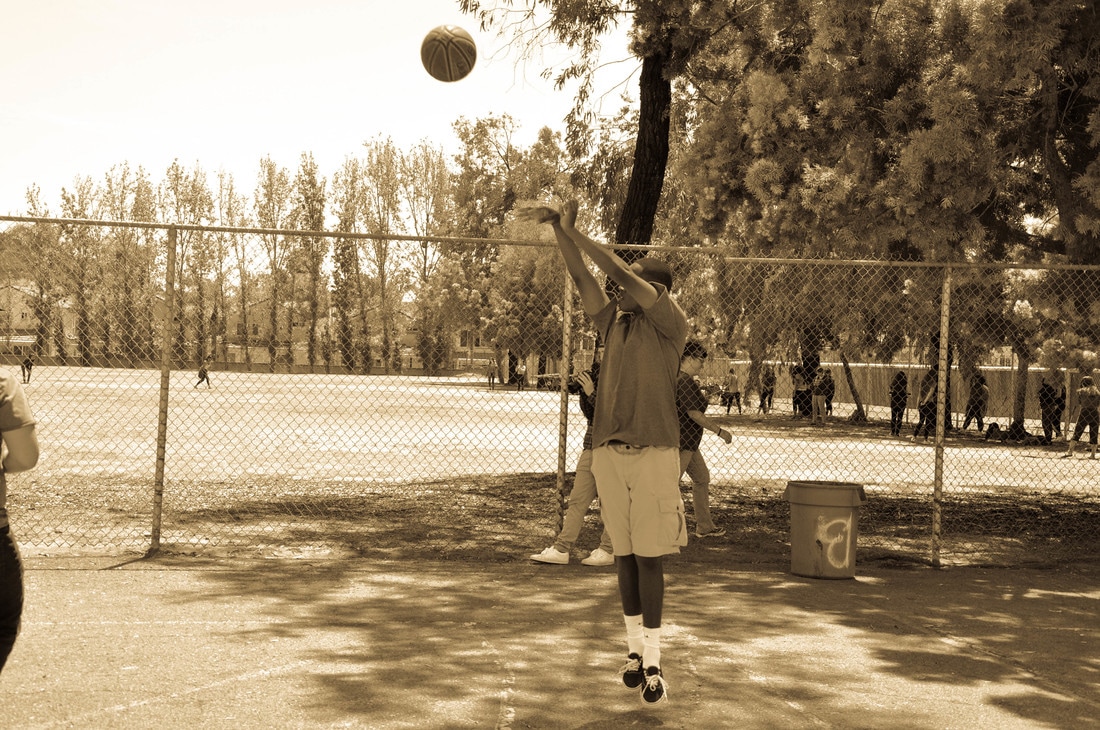
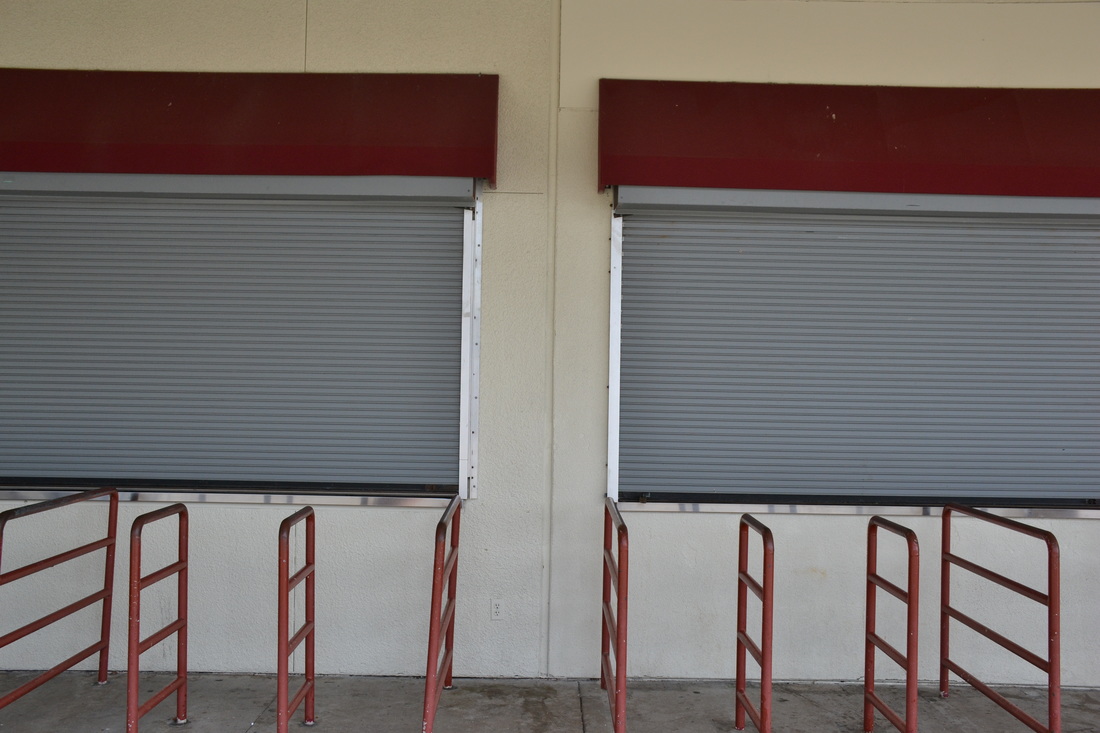
The title of this piece is “Memories”. This picture was taken at RBV infront of the parking lot by the football stadium. The compositional rule is framing. The camera and lens that was used is the “Nikon D5300” with a 18-140mm lens. iPhoto was the software used. The specific devision this phto is in is Monochrome Images.
It was printed on Epson P800 digital printer.
It was printed on Epson P800 digital printer.
Lightroom


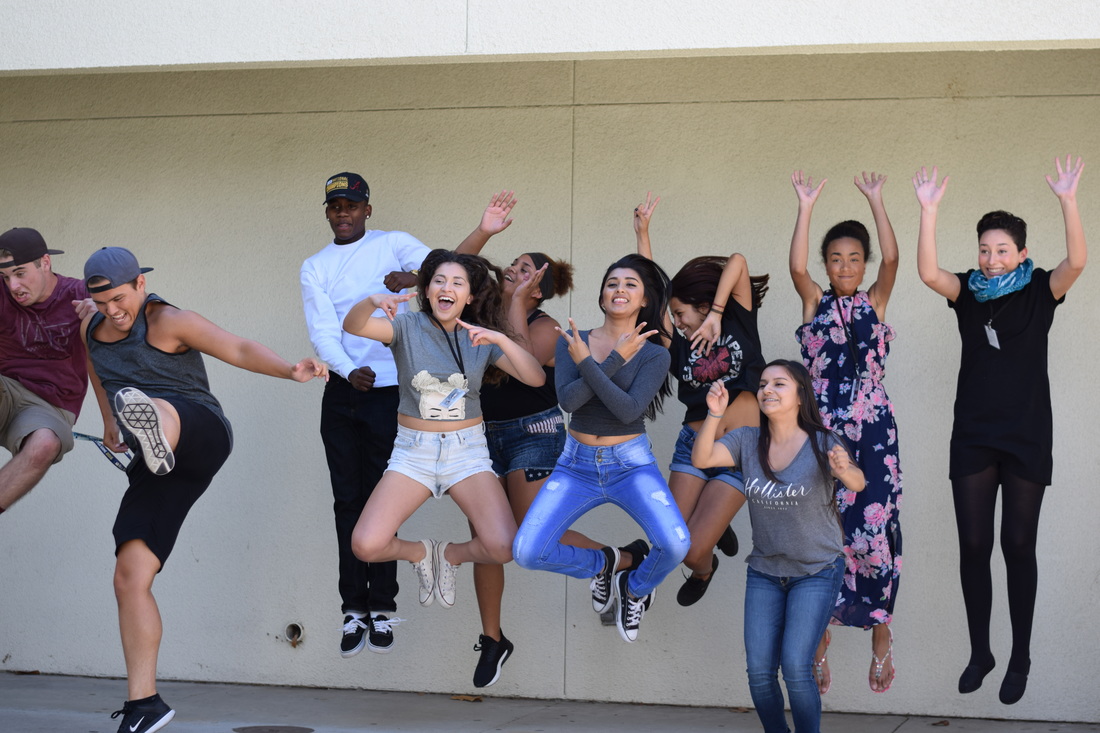
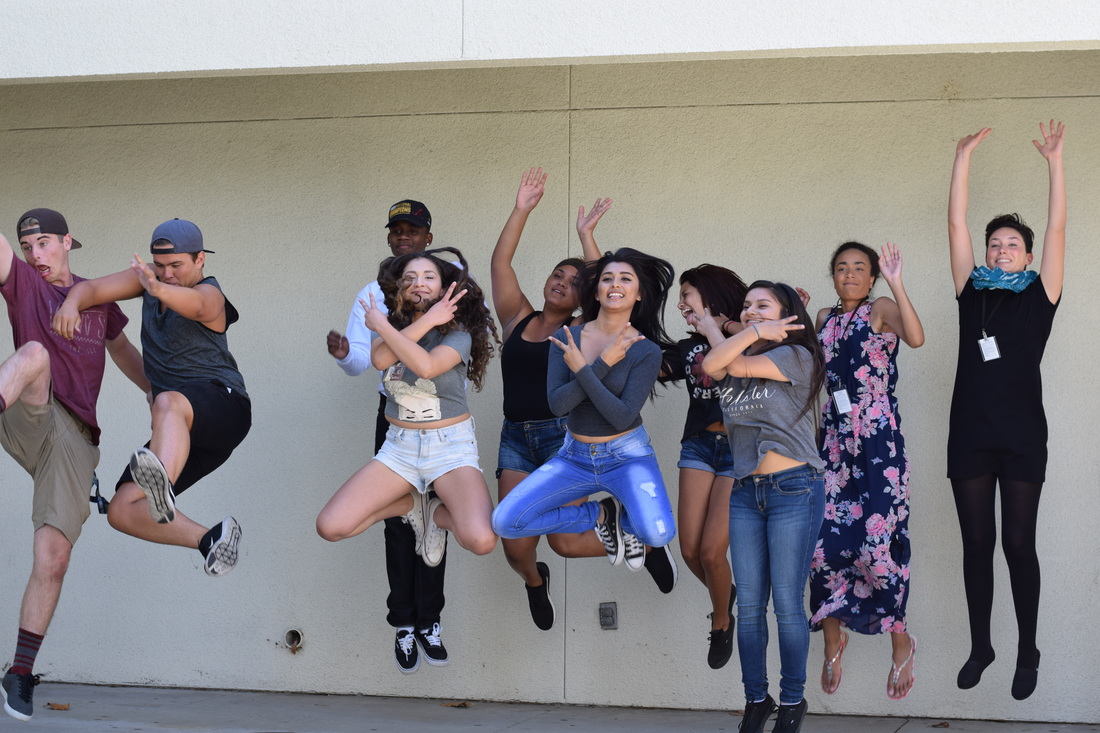
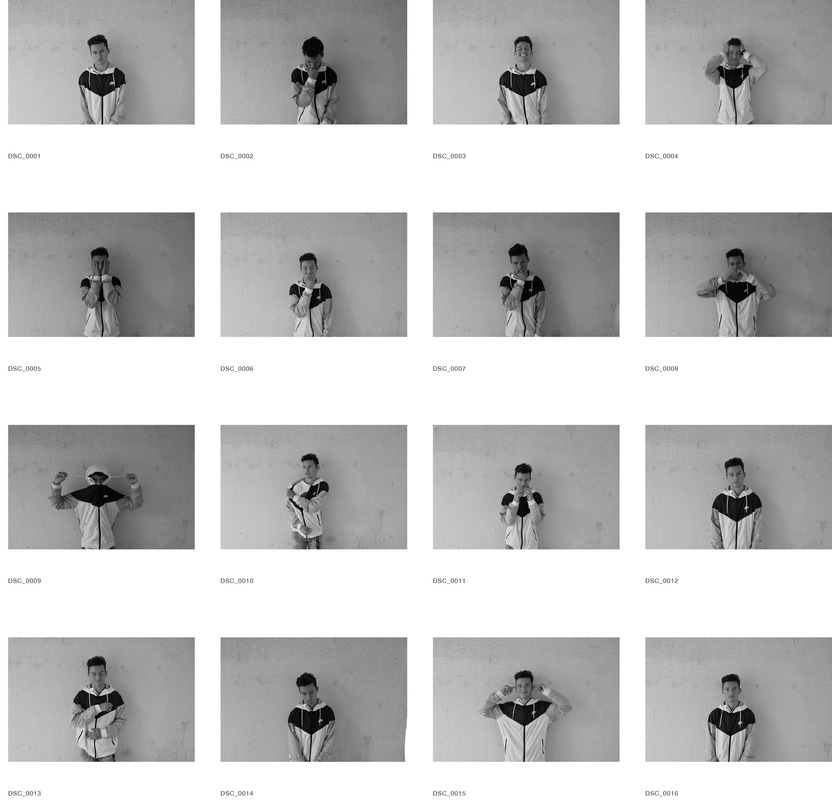
Expressions
Composite Photograph
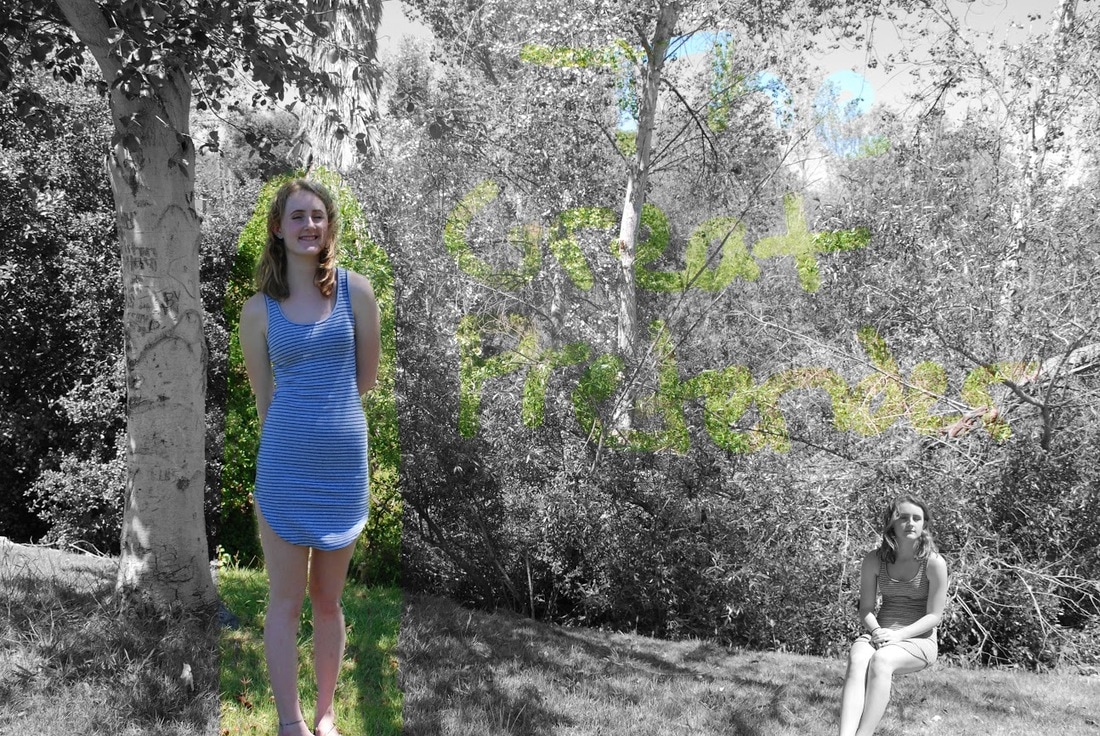
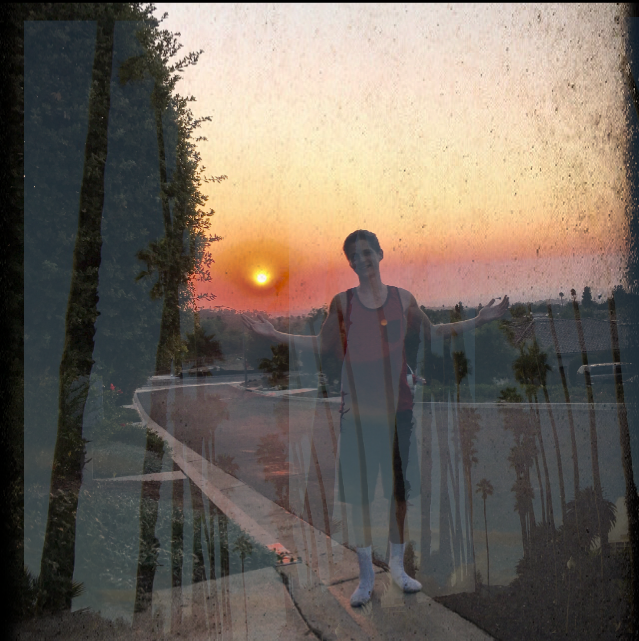
The song I used is "The Great Pretender" by the band Queen. What I did was I took a background picture. Then I took the picture of the model standing, she looks happy in that photo. Then I took a picture of her sitting down looking sad. Then in photoshop I created a few layer masks, and put them on top of each other and made it all black and white. After that I used the eraser tool and erased the black and white off of the picture of her standing and I also erased the words "The Great Pretender".
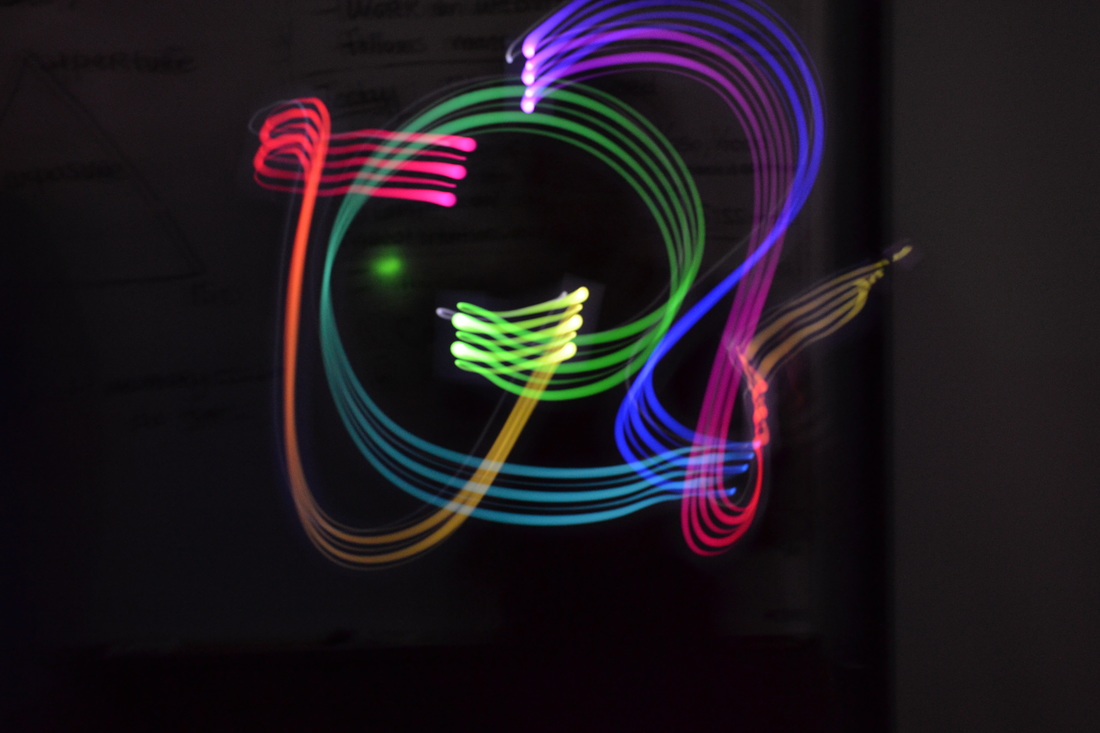
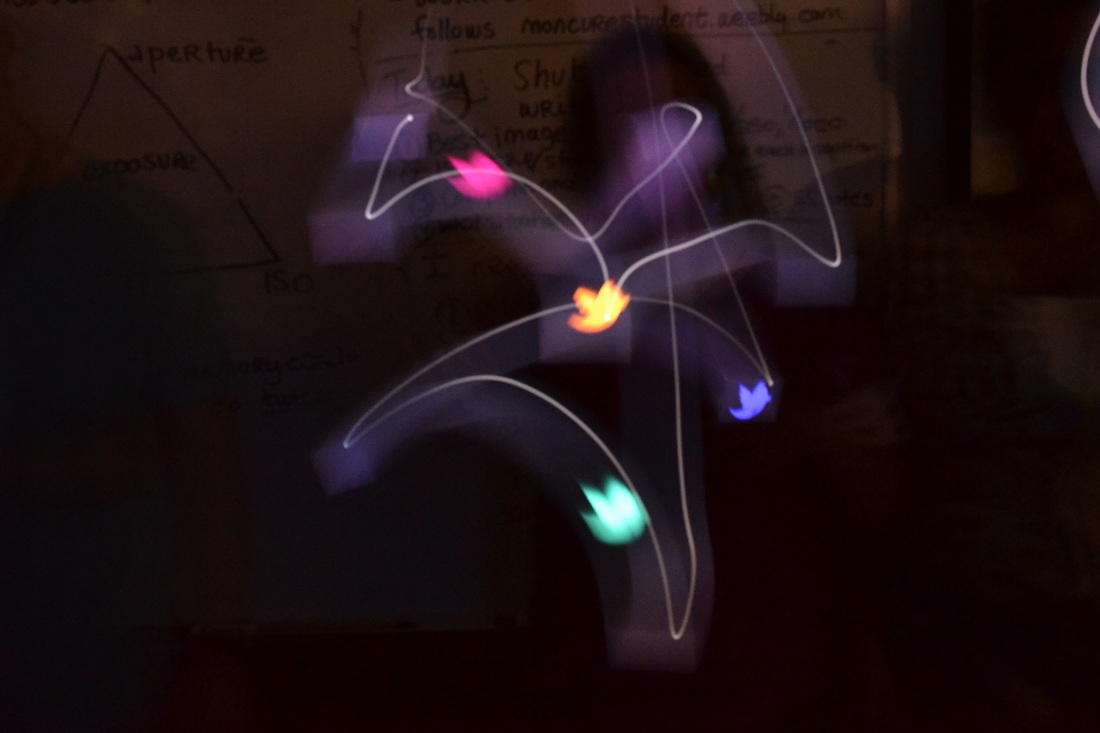
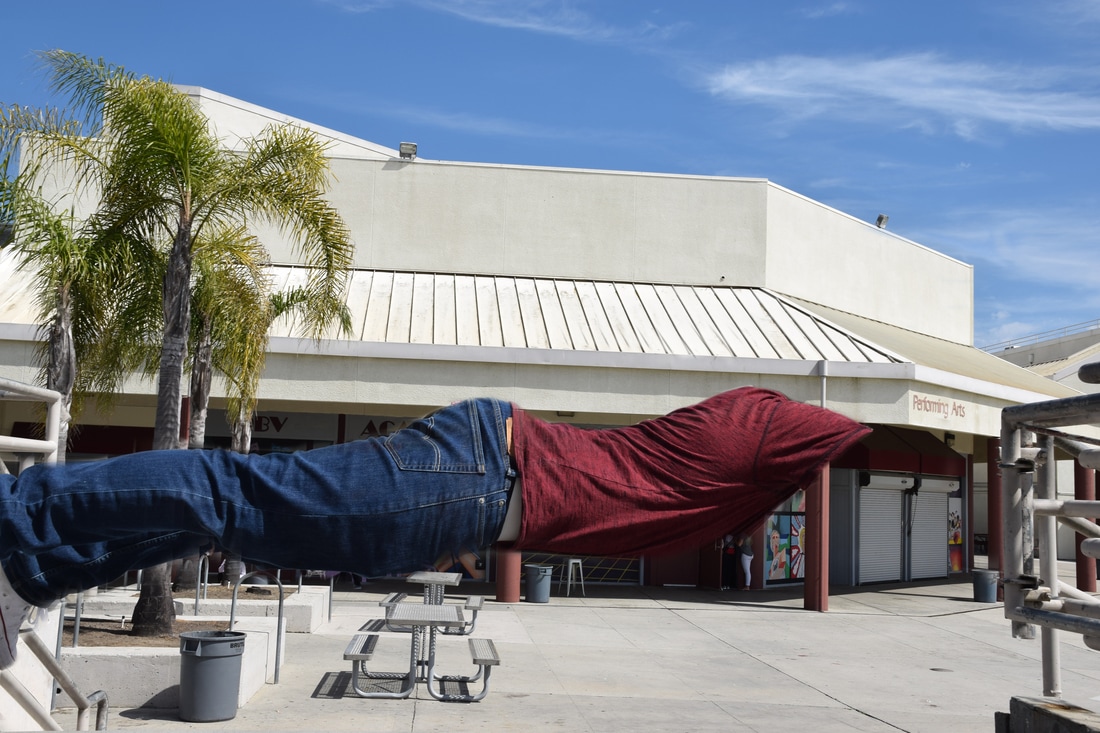
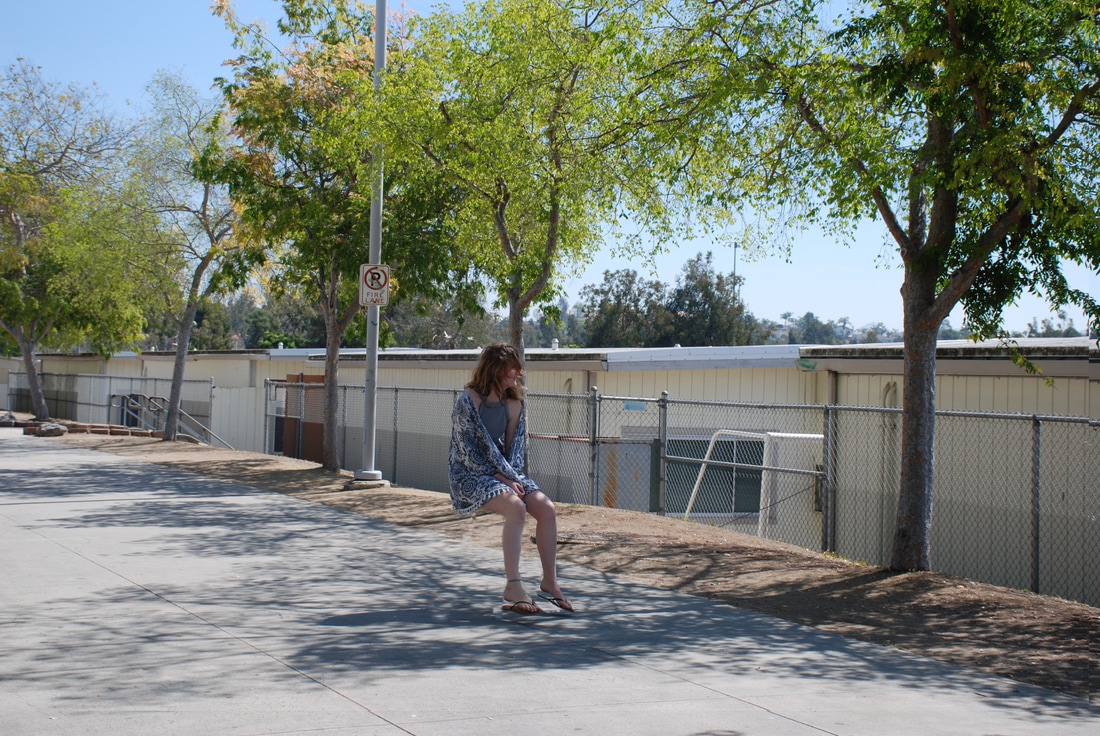
Flying

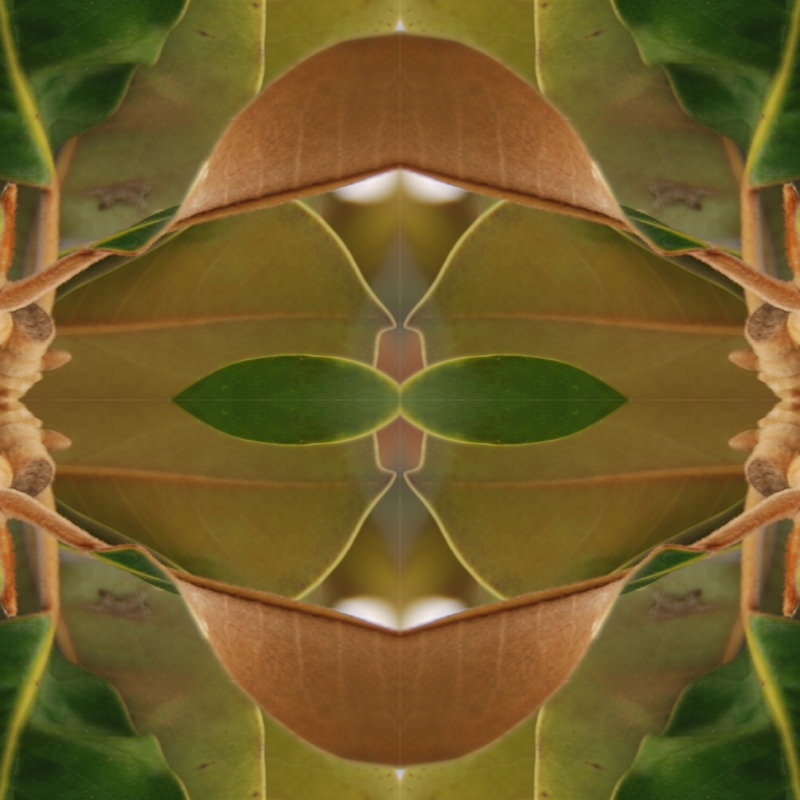
Mandallas
Food Photography
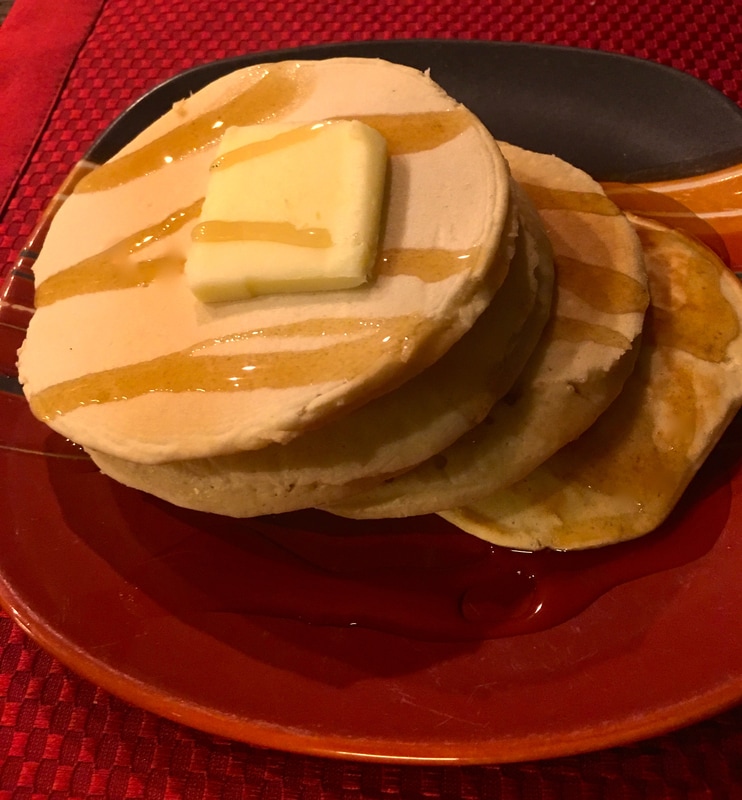
I made pancakes and used maple syrup and butter and put it on top of the pancakes.
What I did was I tried to pour the syrup on evenly and in a pattern. Also I cut a piece off of a stick of butter and put it on top.
A few things I learned from the food photography project is natural lighting looks better than lighting from a lamp or light bulbs. I also learned that when using something runny like maple syrup its easy to mess up. The final thing i learned is making the food look nice and having good props to go along with it is very important.
Some careers or businesses that use food photography is restaurant chains, like McDonalds. Also bakeries need food photographers a lot as well.
I think my food could've been prepared better and I could've gotten better lighting, also I needed more props. Im not sure if I would do this again. I didn't eat the food after so it went to waste. Although food photographers can make good money. Also I like the idea of being outside taking pictures more than spending a lot of time preparing food and taking pictures of it.
Name Project
GABE
Layer Masks
Artist As Mentor
https://docs.google.com/presentation/d/1bwe6UKMfmS71BzvgE2Cigl-T-zBaAmfzYNXEncdfOio/edit?usp=sharing
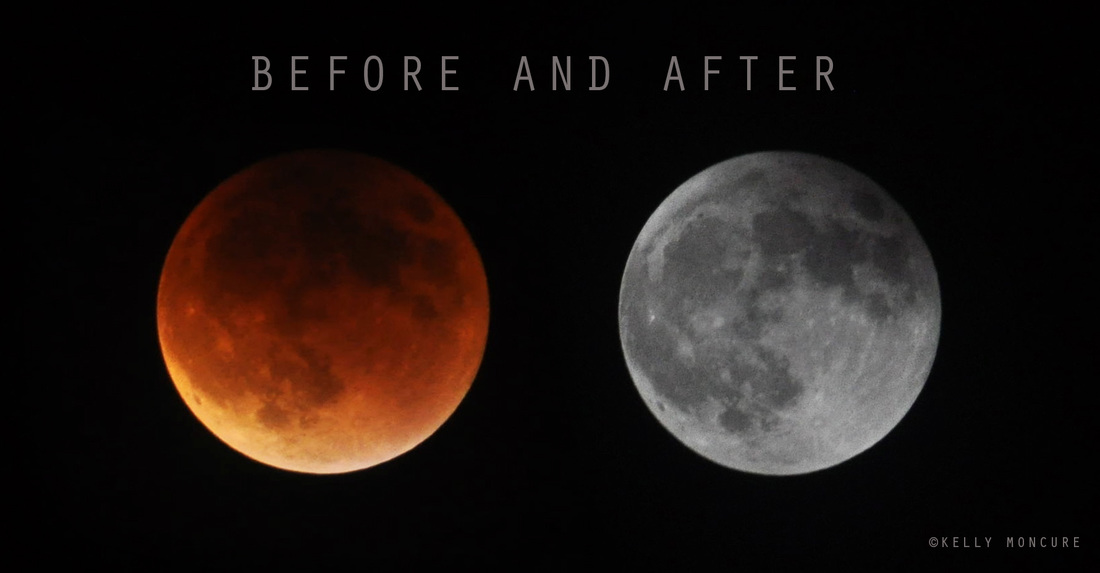
To photograph the moon:
1. Use a tripod! A flat surface will only allow you to shoot straight, and shooting the moon means that you'll be shooting up and constantly re-adjusting the tripod as the moon moves throughout the night.
2. Use a shutter release cord, remote or the camera's self timer if you don't have one, so that you don't move the camera when pressing the shutter release during a long exposure.
3. Use a zoom lens and zoom in as much as you can to the moon. It's okay if it's not a super fancy lens, this was shot using a 15 year old $100 lens. Focus in on the craters and details on the moon.
4. ISO 1250- 1600, so that you can use as fast a shutter speed as you can without losing detail-the longer the shutter speed, the more chances you have the camera will shake even slightly in the wind, resulting in an out of focus photograph.
5. Aperture priority of f/5.6 since you are not worried about capturing any details other then the moon.
6. Bracket your exposure, meaning over expose and underexpose the photograph from what the camera is telling you. Generally the camera will overexpose the moon, so you'll get nothing but a white blob in the sky. Use the exposure compensation button (the +/- button below the shutter release) and change the exposure to -0.5, then -1.0, then -1.5 and so on, until you start seeing detail in the moon. You may go as far as -5.0 exposure compensation to get what you need.
7. Take a fair amount of photos and keep refocusing as the night progresses. The photographs may look focused on the camera's display, but you won't really see if they're completely in focus until you upload them onto your computer screen.
Halloween
ISO , Aperture , Shutter Speed
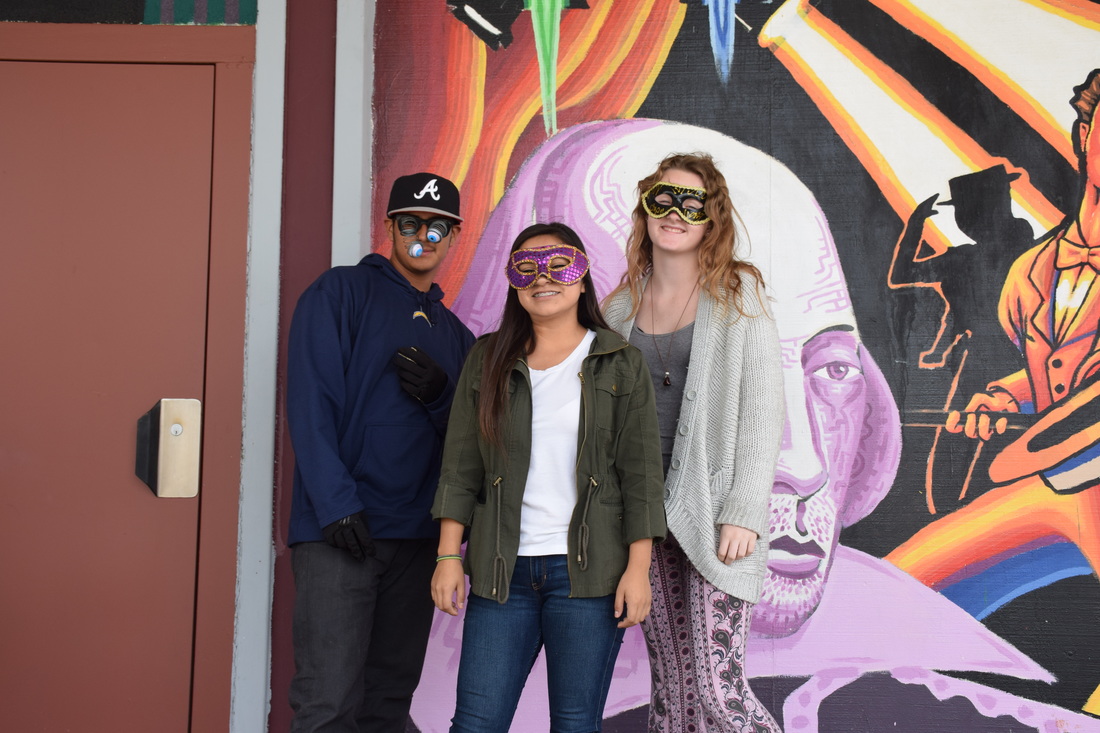
ISO , Aperture , Shutter Speed
Principles of Art
Balance
Proportion
Rhythm
Emphasis
Harmony
Variety
Unity
Elements of Art
Line, ISO 400, Aperture f/7.1
Shape, ISO 400, Aperture f/9
Form, ISO 400, Aperture f/9
Texture, ISO 400, Aperture f/7.1
Space, ISO 400, Aperture f/10
Elements and Principles of Art Through Photography
Elements of Art
- The “building block” of design.
- All good design will have one or more of these elements; line, color, shape, form, texture, space, and value.
- This presentation aims to show you some illustrations of these elements through photography. It could also be done through other art methods, such as painting, fashion design, sculpture, etc.
Line
- A line is one-dimensional and can vary in width, direction, and length. Lines also can define the edges of a form. Lines can be horizontal, vertical, or diagonal, straight or curved, thick or thin. Lines lead your eye around the composition.
Color
- Color has three main characteristics: hue(red, yellow, green), value(how light or dark it is), and intensity (how bright or dull it is). Colors can also be described as warm (red, yellow), or cool (blue, green).
- Furthermore, Monochromatic- one color plus its tints (adding white) and shades (adding black).
- Complimentary Colors- colors opposite each other on the color wheel. (ex. Green & Red).
- Analogous Colors- colors next to each other on the color wheel (ex. Red & orange).
Shape
- Shape is two dimensional, with a height and width.
- Organic Shape: a shape made by nature. Not completely defined.
- Inorganic Shape: man made- such as triangles and rectangles.
Form
- Form is three dimensional, has height and width and depth.
- Photographers emphasize form by the use of highlights and shadows.
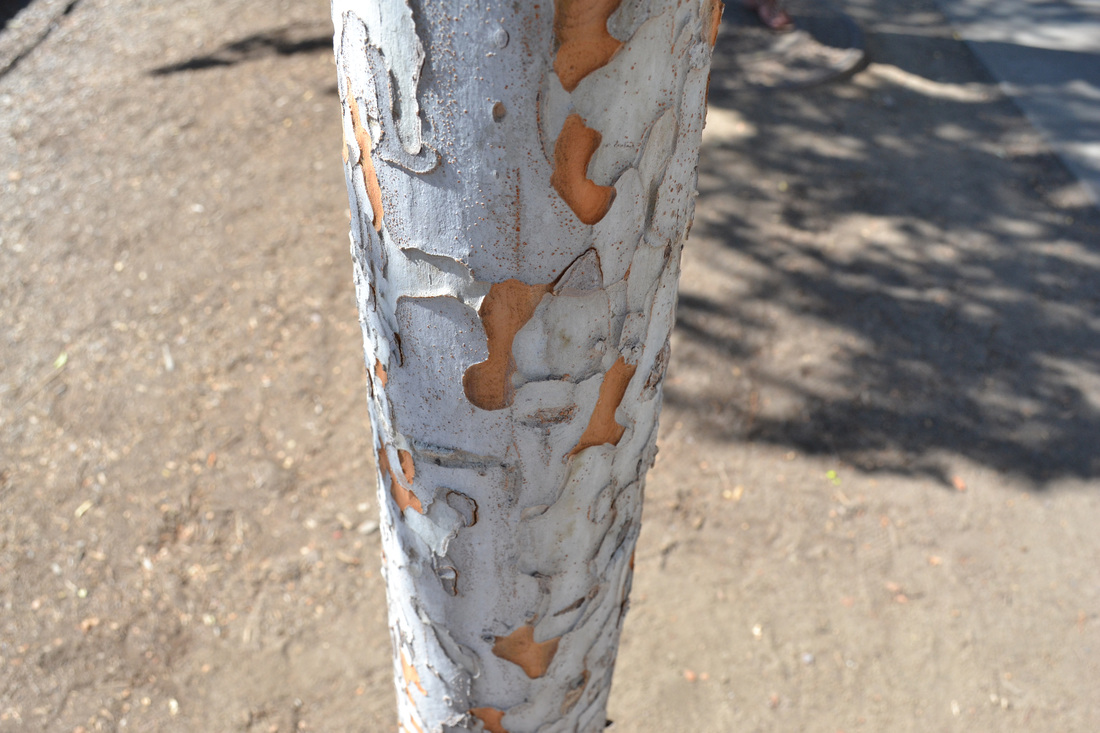
Texture
- The surface quality of an object that we sense through touch. All objects have a physical texture (think- horse hair, dolphin smooth)
- In a two dimensional work, texture gives a visual sense of how an object depicted would feel in real life if touched.
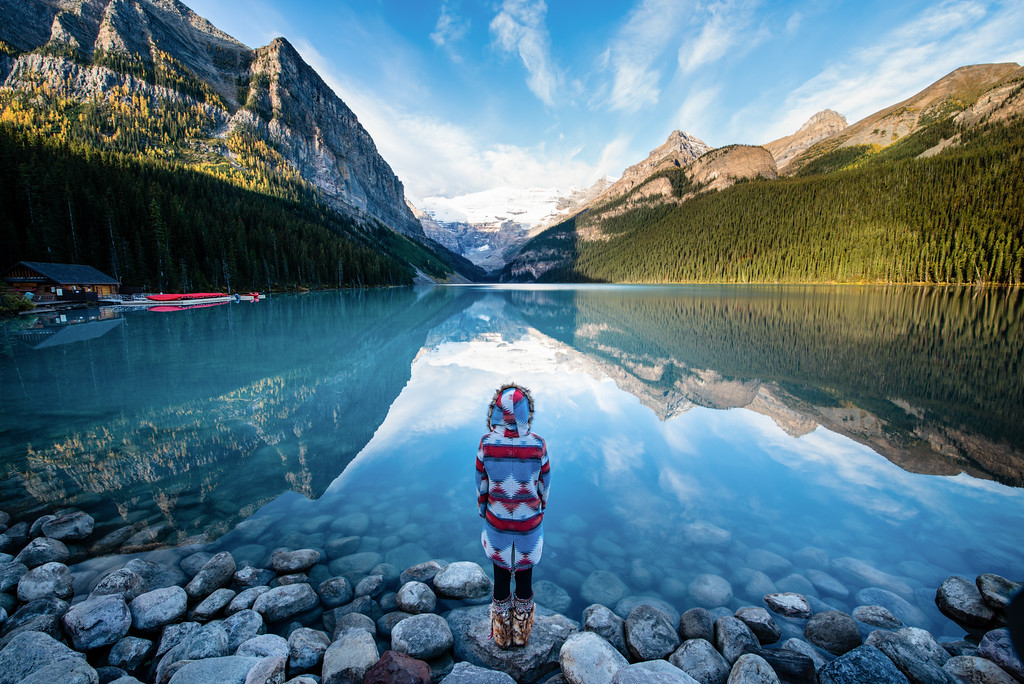
Travis Burke
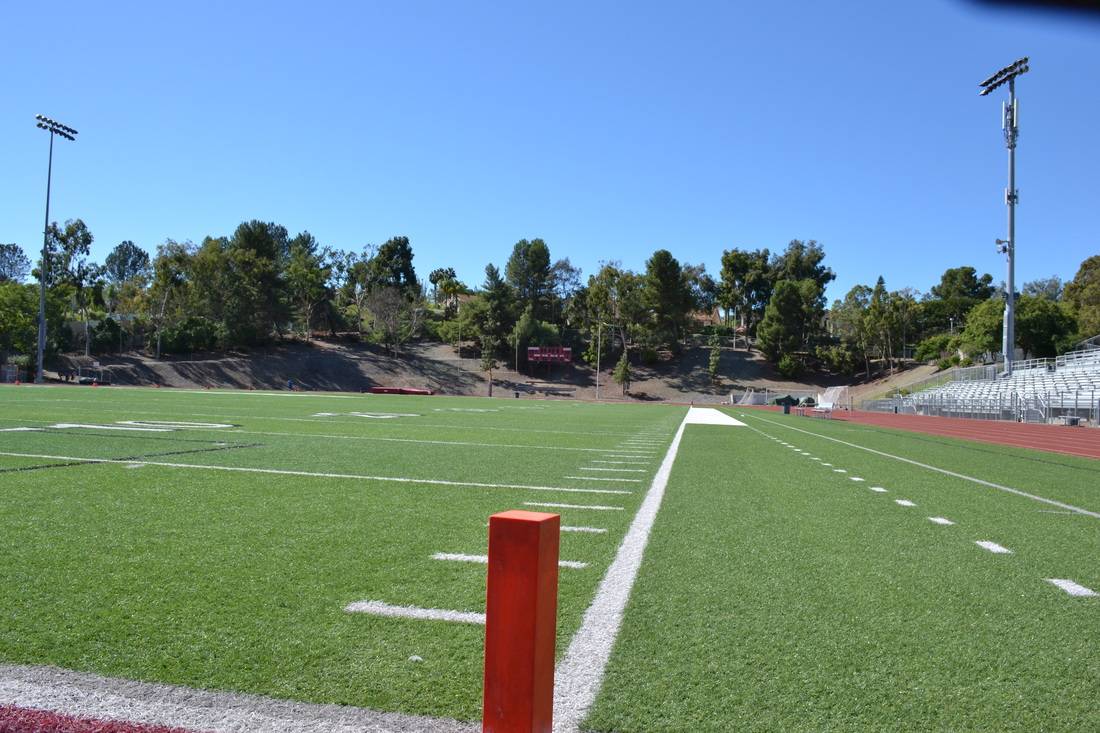
Space
- Real space is three dimensional. Space in a work of art refers to a feeling of depth or three dimensions. It can also refer to an artist’s use of the area around the picture plane.
Travis Burke
Value
- Value is the lightness or darkness of a surface. It is frequently used when talking about shading, but is also important in the study of color.
Balance
- Balance is similar to our physical sense of balance. It is how the artist uses opposing forces in a composition that results in visual stability.
- Most successful compositions achieve balance in one of two ways: symmetrically (the same on both sides, like a butterfly wing) or asymmetrically.
Proportion
- Proportion relates to the relative size and scale of the various elements in a design. Specifically, the relationship between the objects.
Rhythm
- Rhythm in an artwork indicates movement by the repetition of elements. Rhythm can make an artwork seem active.
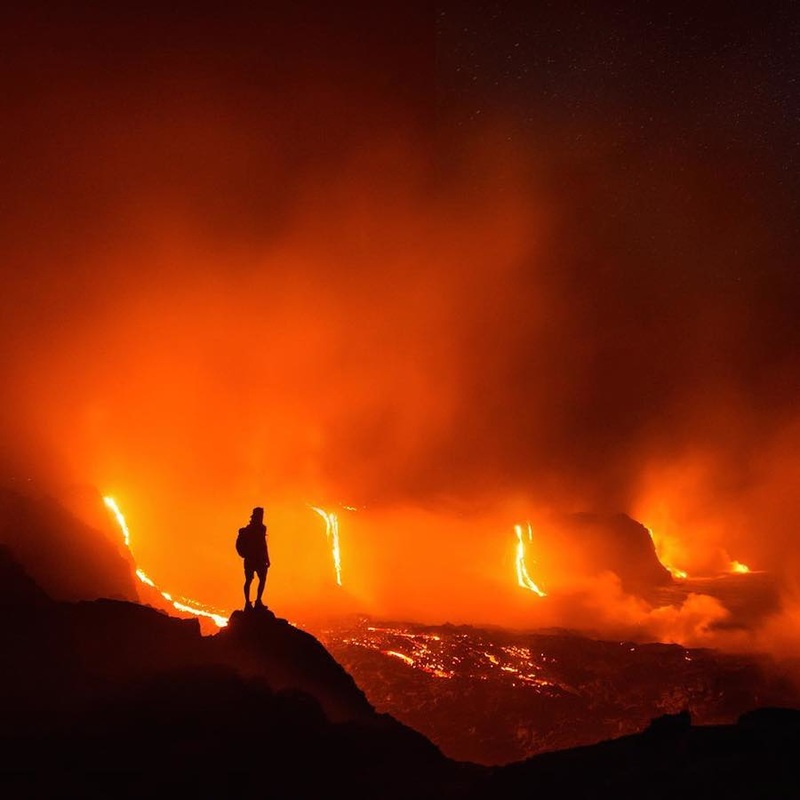
Emphasis
- Emphasis is to make one part of an artwork dominant over the other parts. It attracts the viewer’s eyes to a place of special importance in an artwork.
Harmony
- Harmony is the pleasing quality achieved by different elements of a composition interacting to form a whole. Harmony is often accomplished through repetition of the same or similar characteristics.
Variety
- Differences achieved by opposing, contrasting, changing, elaborating, or diversifying elements in a composition to add individualism and interest.
Unity
- Unity is the result of bringing the elements of art into the appropriate ratio between harmony and variety to achieve a sense of oneness. It is the sense that everything works together and looks like it fits.
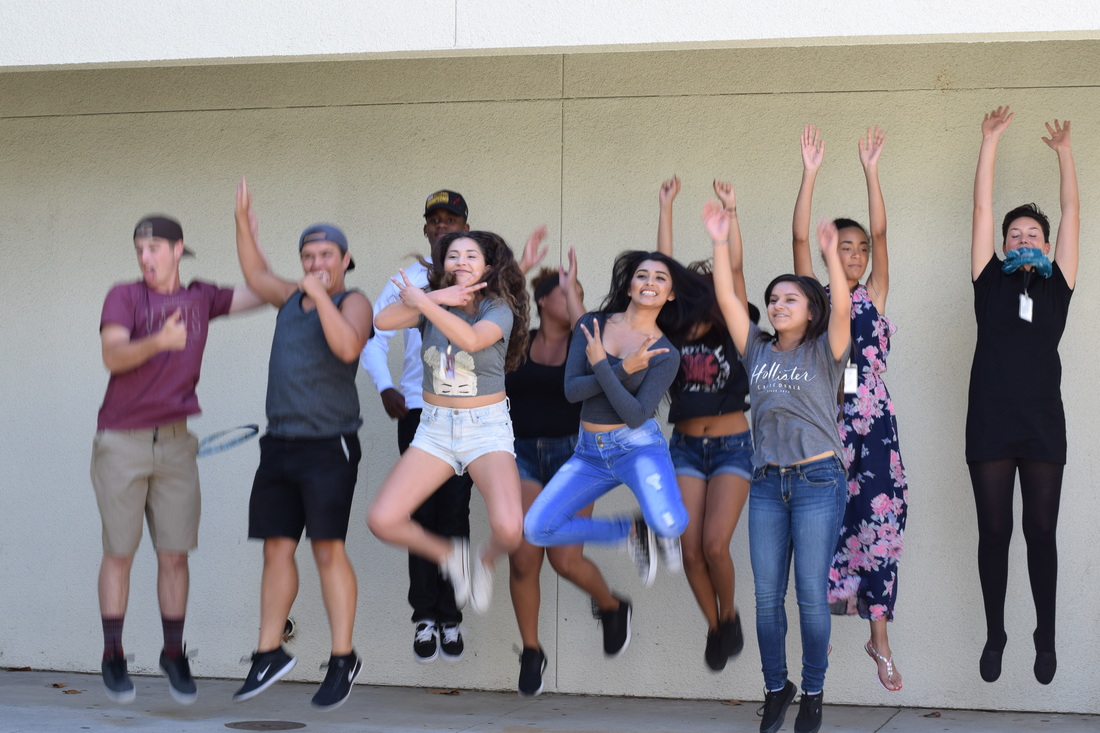
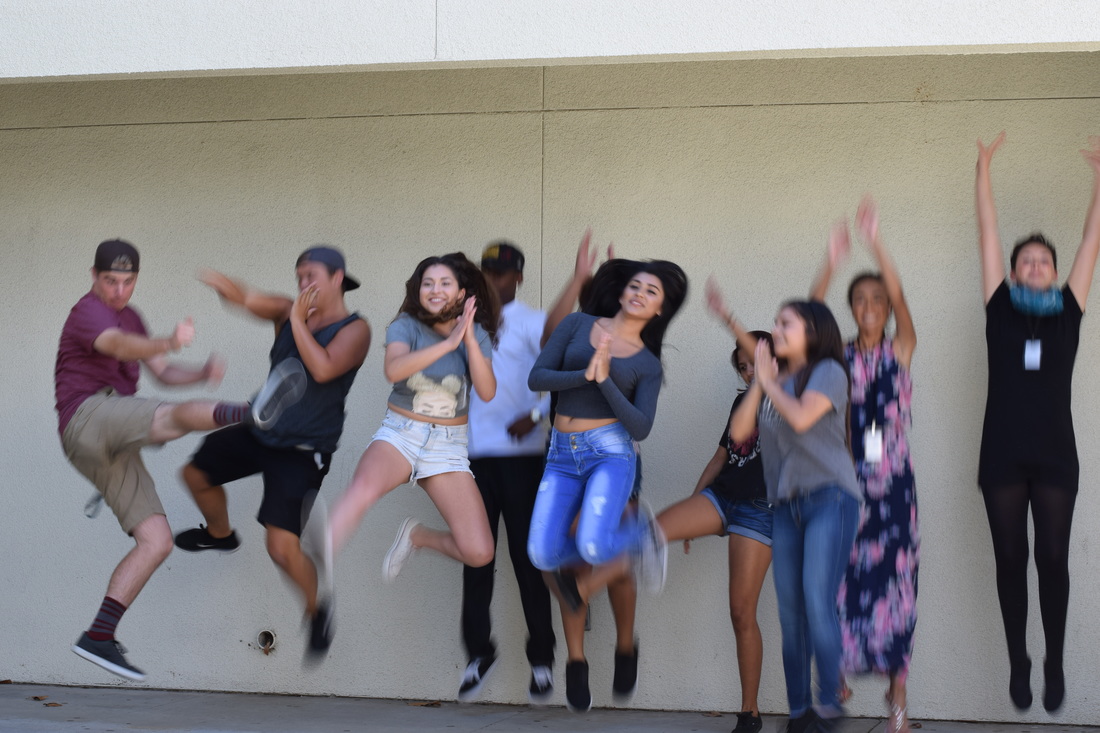
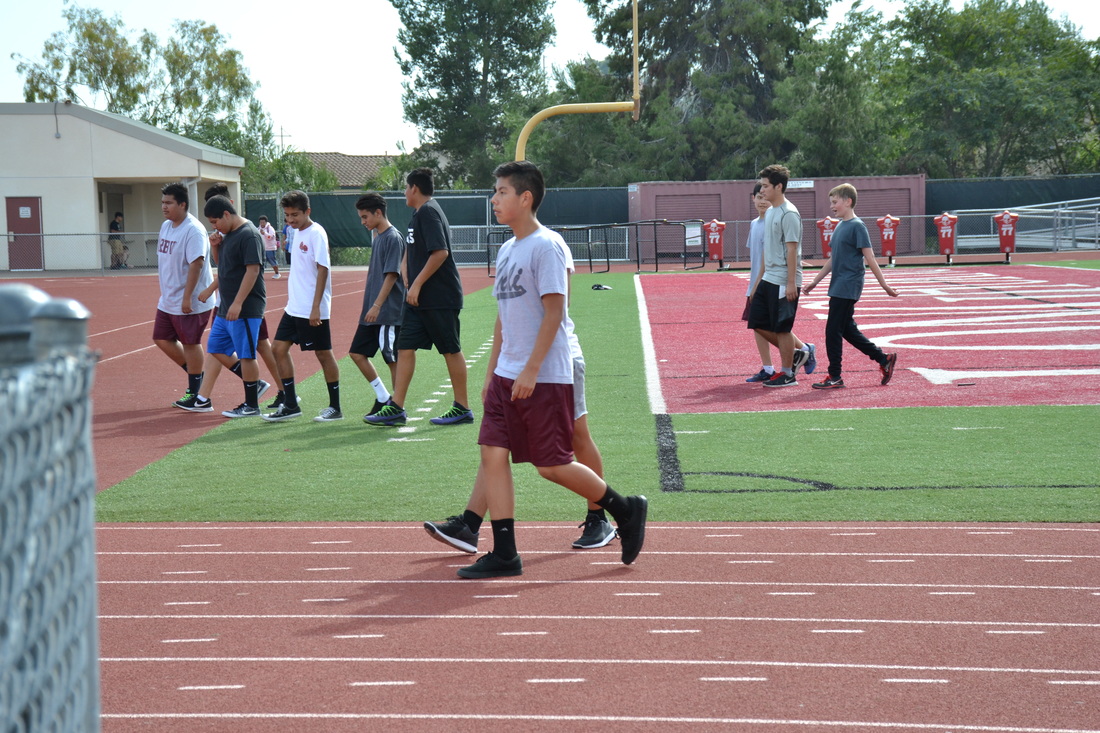
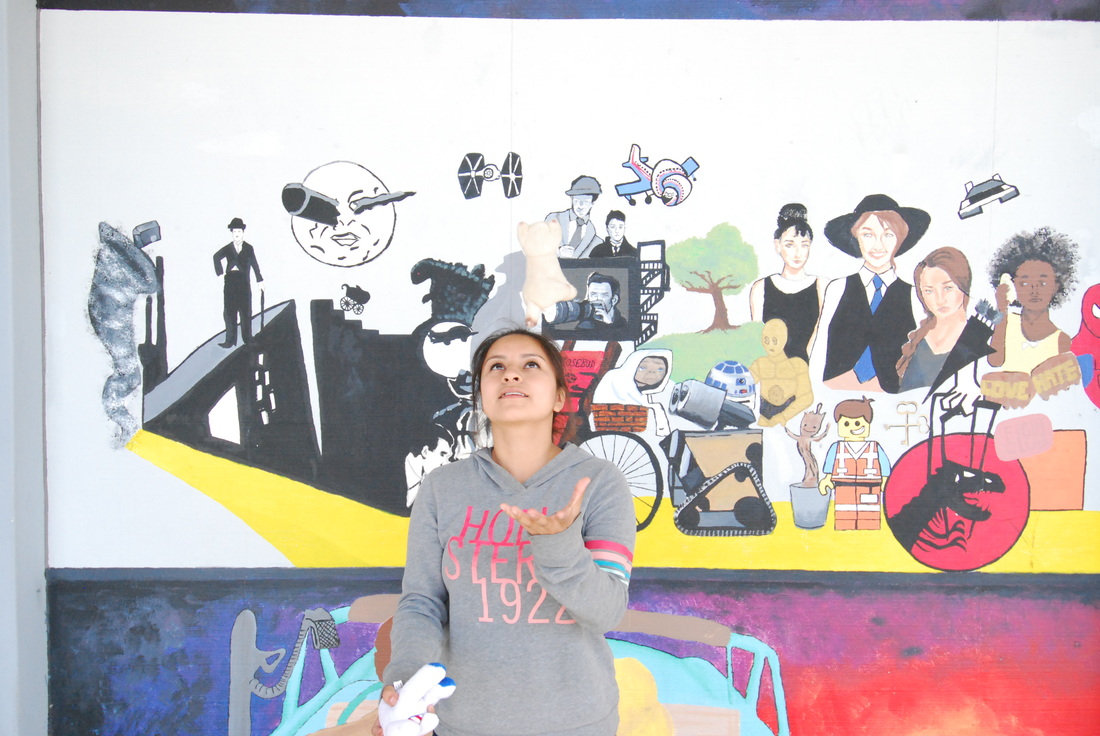
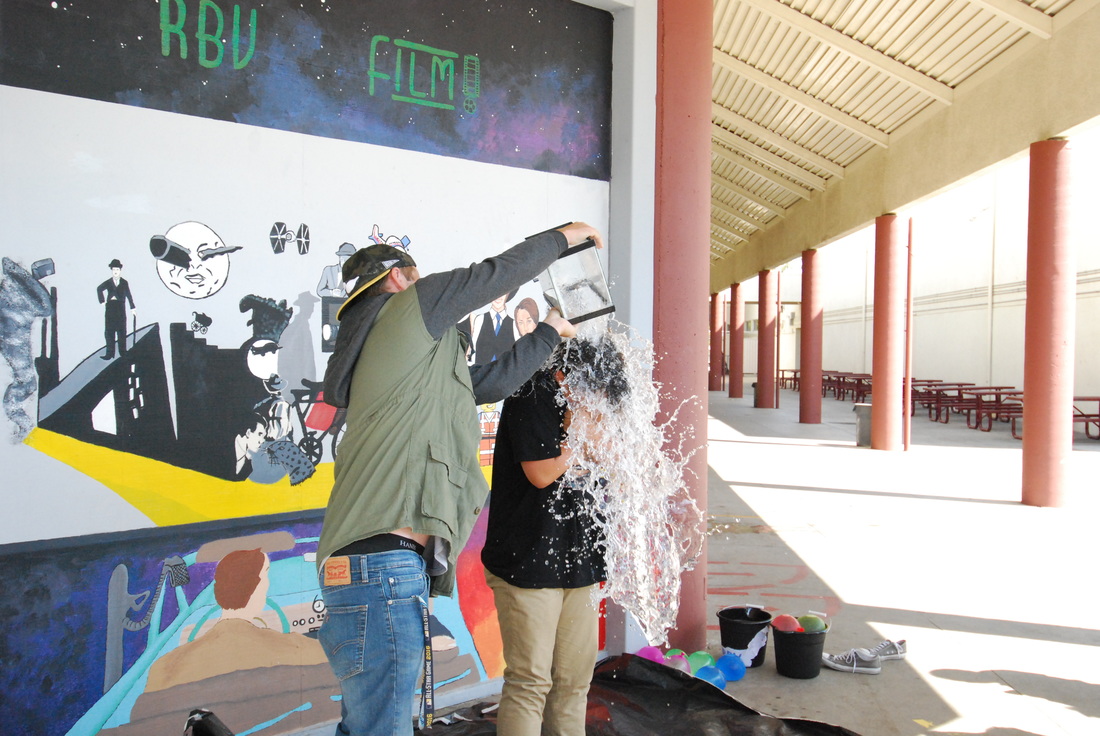
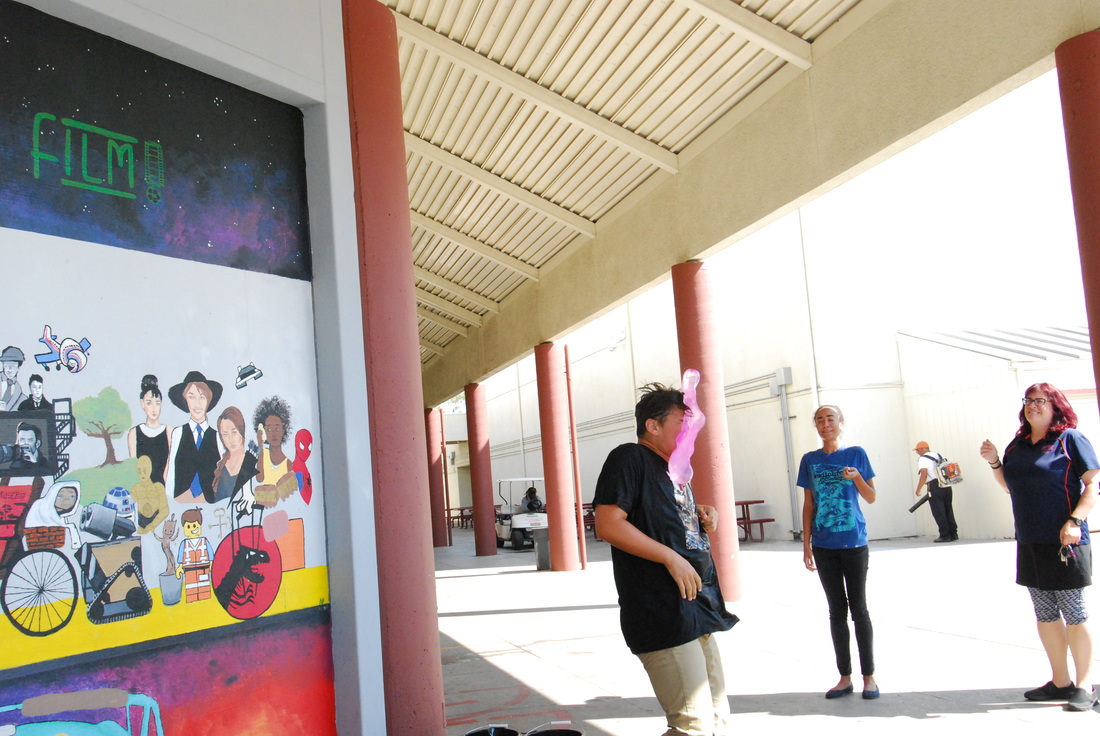
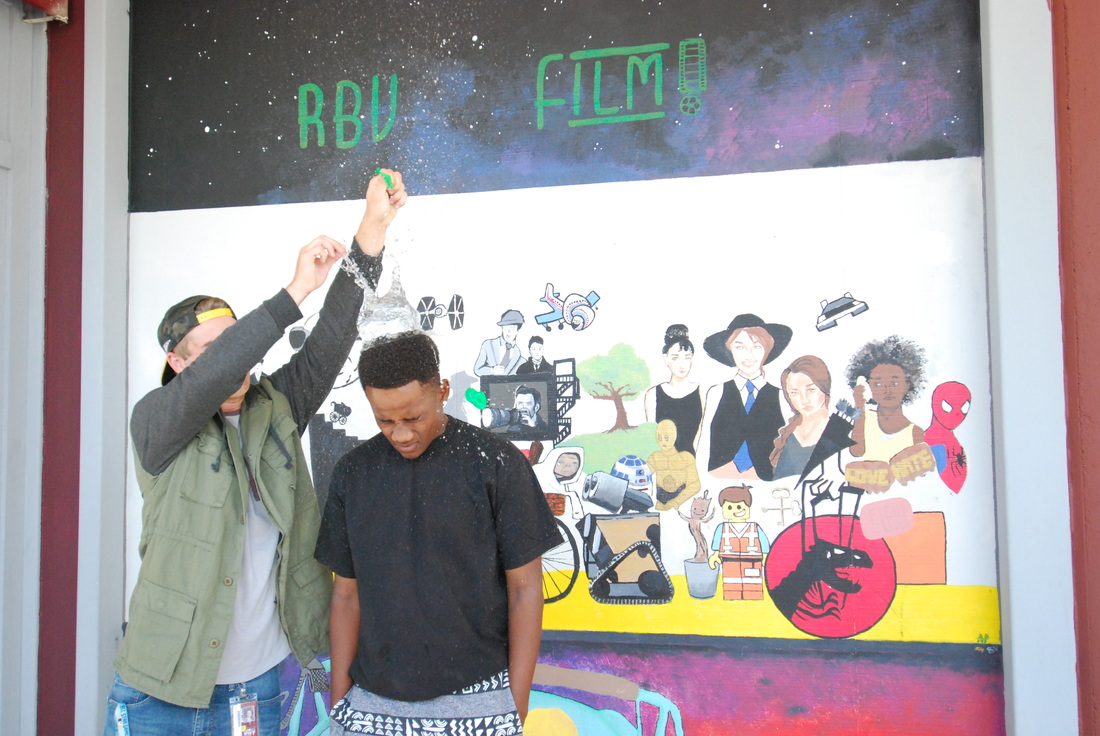
Fast Shutter Speed
ISO 1600, f/6.3, 1/1,000th of a second
ISO 1600, f/5.6, 1/1,000th of a second
ISO 1600, f/7.1, 1/1,000th of a second
ISO 1600, f/6.3, 1/1,000th of a second
ISO 1600, f/6.3, 1/1,000th of a second

ISO 1600, f/4.5, 1/1,000th of a second
ISO 1600, f/5.6, 1/1,000th of a second
ISO 1600, f/8, 1/1,000th of a second
ISO 1600, f/4.5, 1/1,000th of a second
1. I set the camera to shutter priority, then I set the shutter speed to 1/1000th of a second.
2. I had issues taking the pictures either too early or too late. I just kept trying to time it better.
3. 1)Higher shutter speed is better for freezing photos. 2)It's good for anything with water or moves fast. 3)
4. You could use fast shutter speed to capture lighting in a storm, or catch someone running.